

DaVinci Resolve is known for its professional editing tools and powerful colour grading, but it also includes a strong set of features for working with sound effects and audio clips. Whether you’re placing simple SFX, shaping ambience, or refining transitions, Resolve gives you precise control over these elements.
By the end of this guide, you should feel confident handling sound effect tasks within DaVinci Resolve. We’ll cover core techniques like moving, muting, trimming and splitting audio clips, before moving on to more advanced workflows such as automation, reversing, panning and applying audio effects. You’ll also learn how to use fades and crossfades to create smoother, more natural sounding transitions.
For further information on working with audio in Resolve, check out our article on How to Do Anything with Audio in DaVinci Resolve. It the software’s extensive audio features and how you may potentially use them in your own projects. In addition, if you are stuck on where to start building a sound library, our Free Sound Effects collection is a great place to begin, and you can check out How to Download Free Sound Effects and Use them in Your Projects.
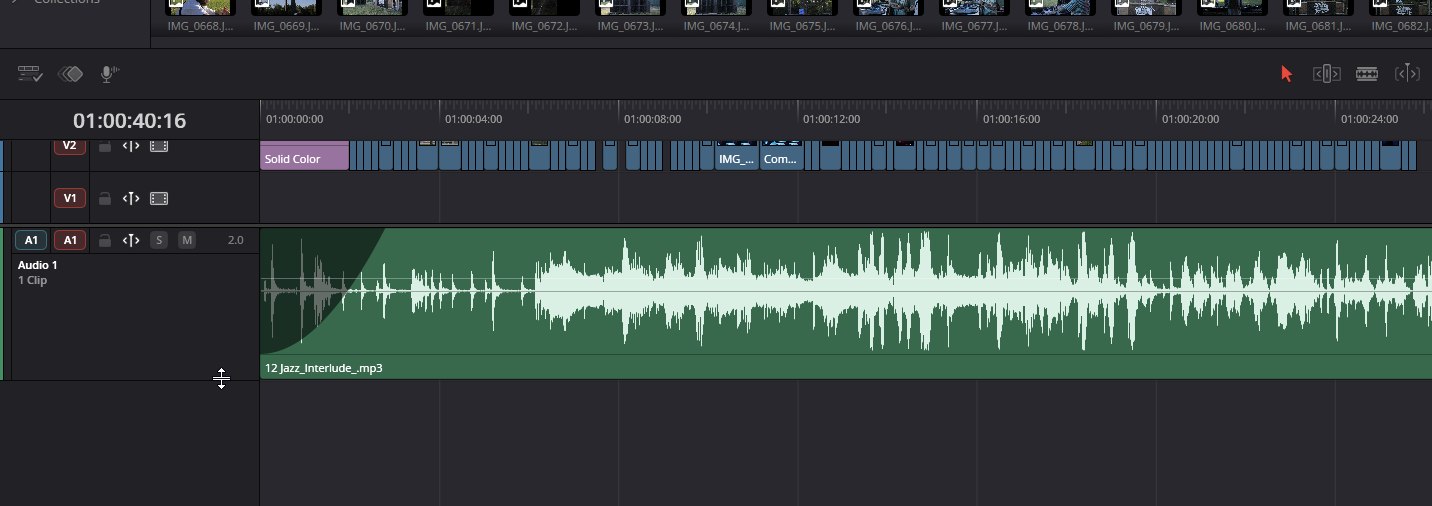
Moving audio clips in DaVinci Resolve is very straightforward, and you’ll find yourself doing it constantly throughout any edit. Simply select the audio clip in the Edit page timeline and drag it left or right to reposition it against your video. You can also drag it up or down to move it to a different audio track if your project becomes crowded.
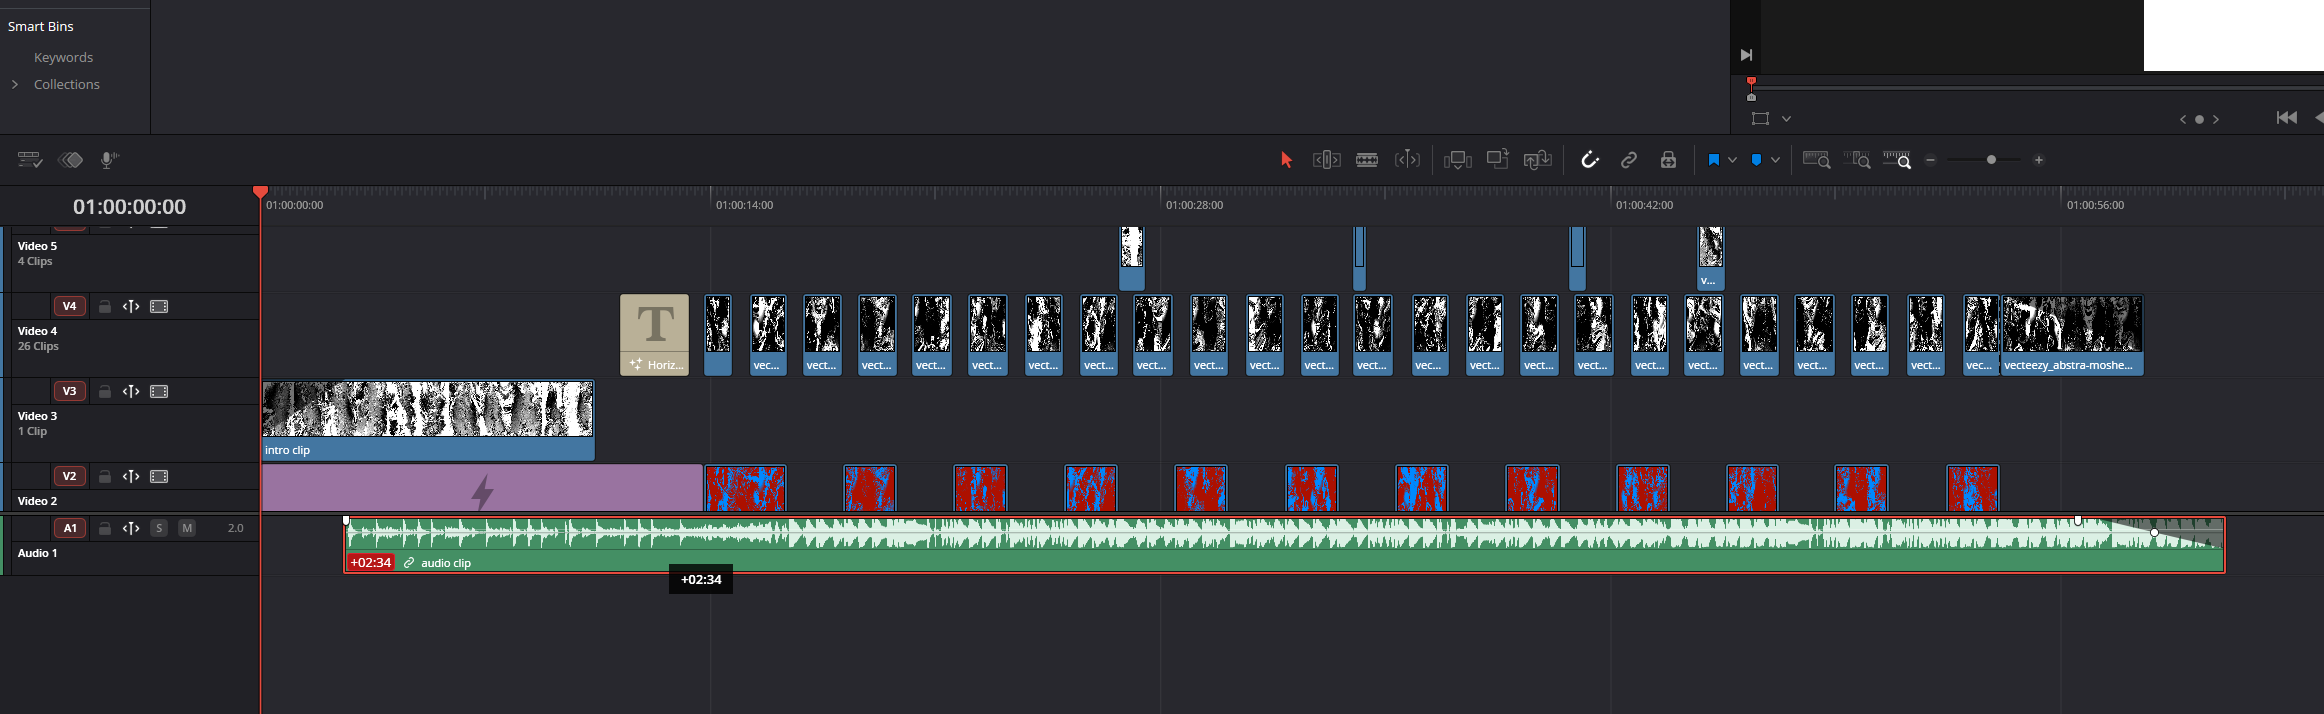
For more precision, turn off Snapping (N). This allows you to move clips freely without them attaching to edit points or the playhead.
To mute audio in DaVinci Resolve, select the clip and press D to disable it (or right click>enable/disable clip). This keeps the clip visible in your timeline but silences it during playback and export.
Alternatively, open the Inspector and lower the clip gain to negative infinity. This is useful if you want to maintain the clip’s presence but still experiment with different sound combinations.
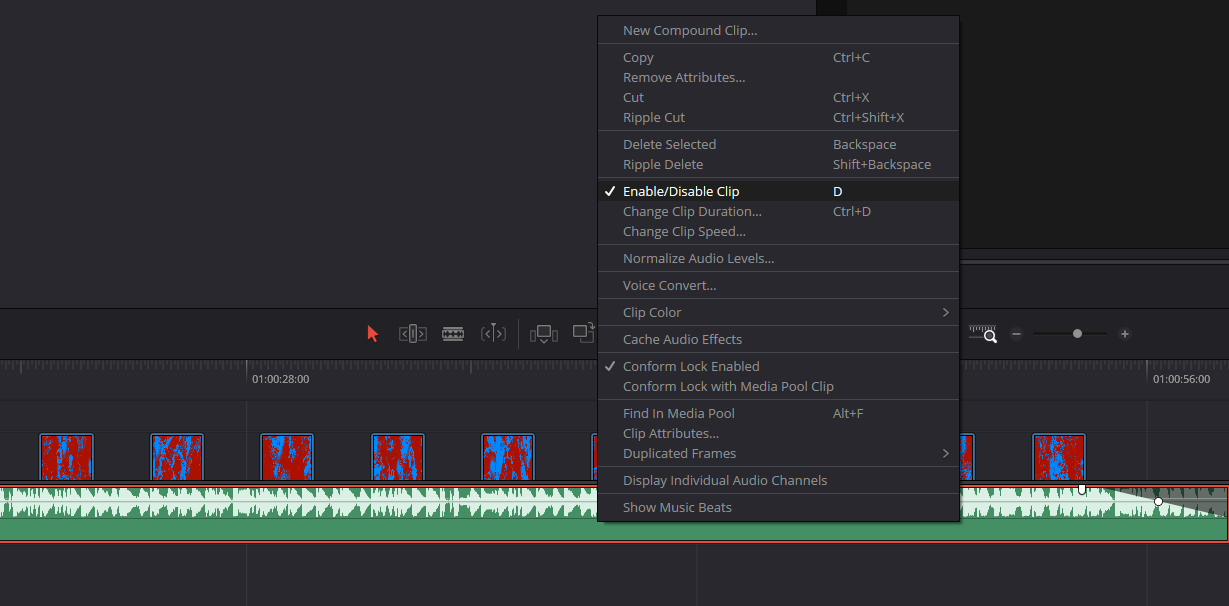
If you need temporary silence without disabling the clip, use the Mute button in the track header to mute an entire track at once.
Top Tip: Clip disabling is a cleaner method than lowering gain because it keeps your mix visually organised, especially when testing variations.
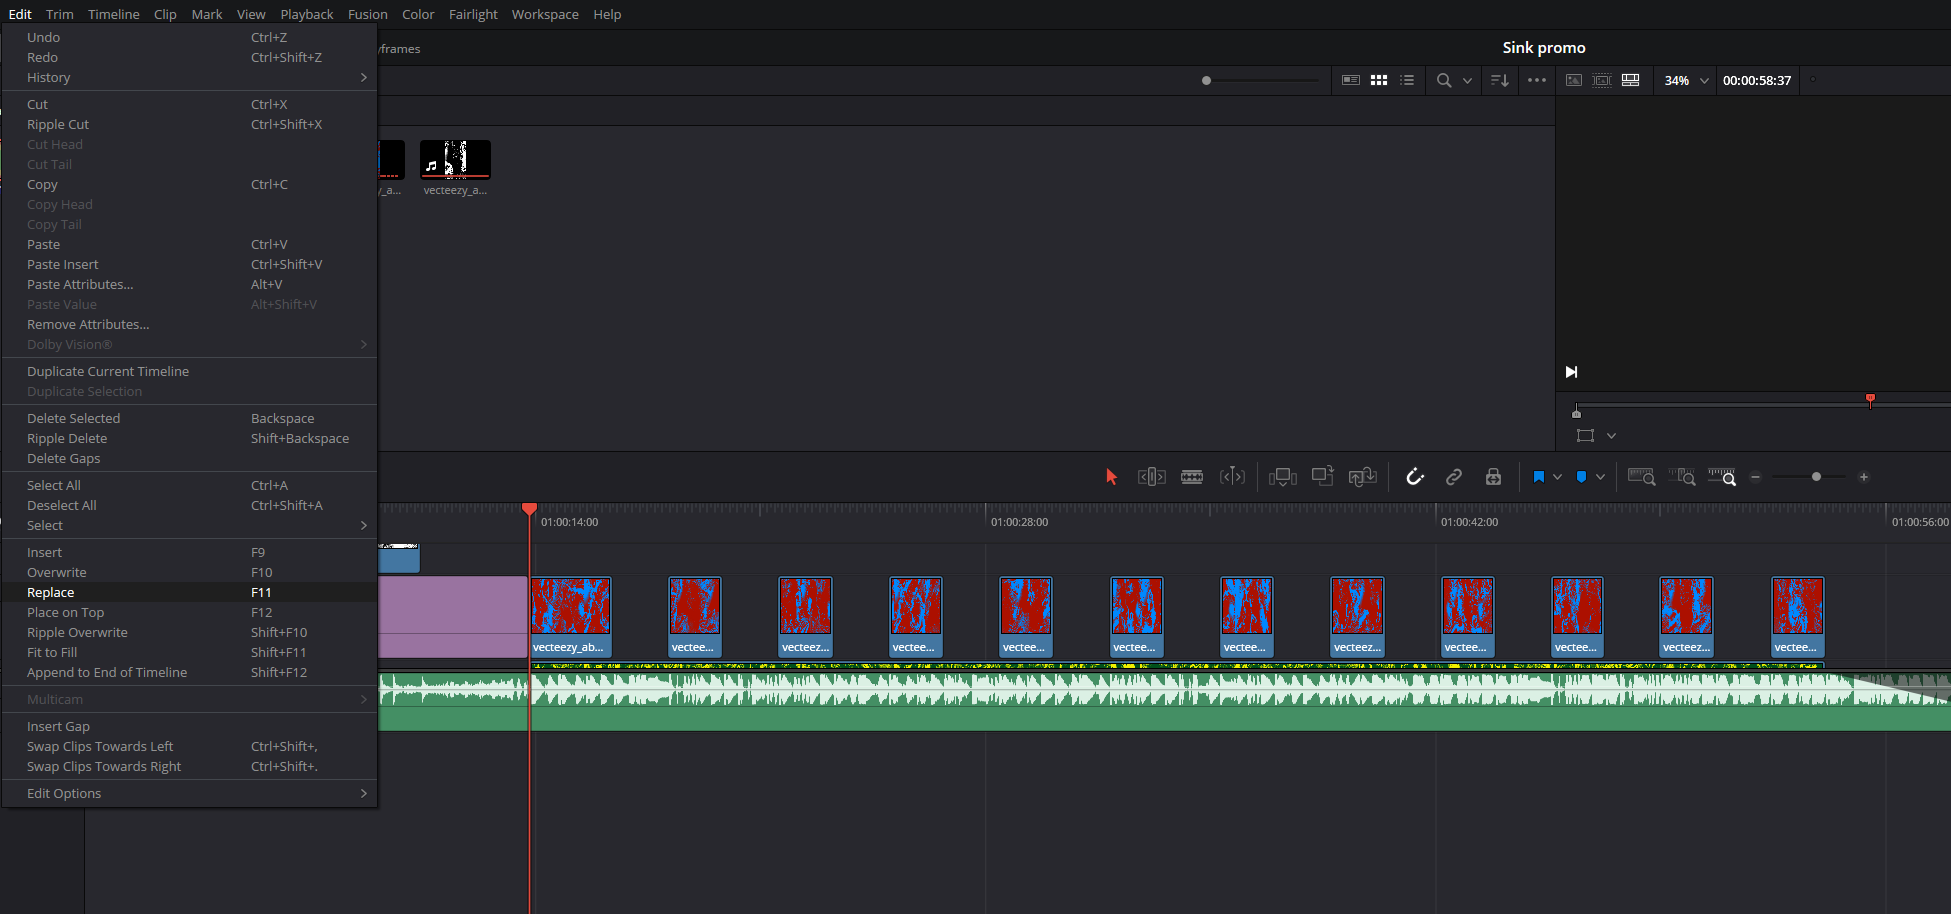
Replacing an audio clip allows you to keep its timing and position while swapping the sound itself. To do this, load your new audio file in the Source Viewer, align the playhead where you want the replacement to begin, then use Replace Edit (F11) (or Edit>Replace). Resolve will update the clip while leaving the timing and edit structure untouched.
This is ideal for swapping temporary sound effects, scratch recordings, or updating audio you’ve refined outside of Resolve.
Trimming audio clips is essential for getting your timing right. Hover your cursor over the start or end of a clip until you see the trim brackets, then drag inward to shorten it. Resolve updates the waveform in real time, helping you trim to the exact transient or moment you need.

Zoom in using Alt + scroll for more precise adjustments. Trimming does not ripple other clips by default, making it ideal for localised timing fixes.
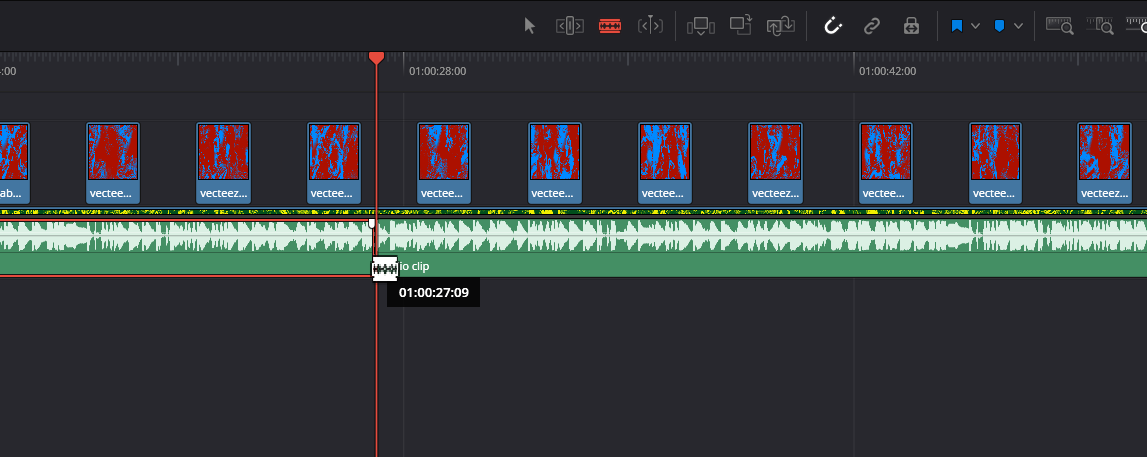
Splitting audio in Resolve helps isolate sections for processing, remove unwanted noises, or apply specific transitions. Move the playhead to the exact frame where you want to cut, select the clip, and press Ctrl + B. You can also use the Blade tool (B) for more manual slicing.
You’ll now have two independent clips you can move, trim, fade, or process separately.
Top Tip: Use splits before adding fades so each section can receive its own fade shape without affecting the whole clip.
Automation in Resolve lets you create volume or panning changes over time. Select your audio clip, open the Inspector, and activate the keyframe icon next to Volume/Pan. You can then add keyframes where needed and drag them up or down to adjust levels.
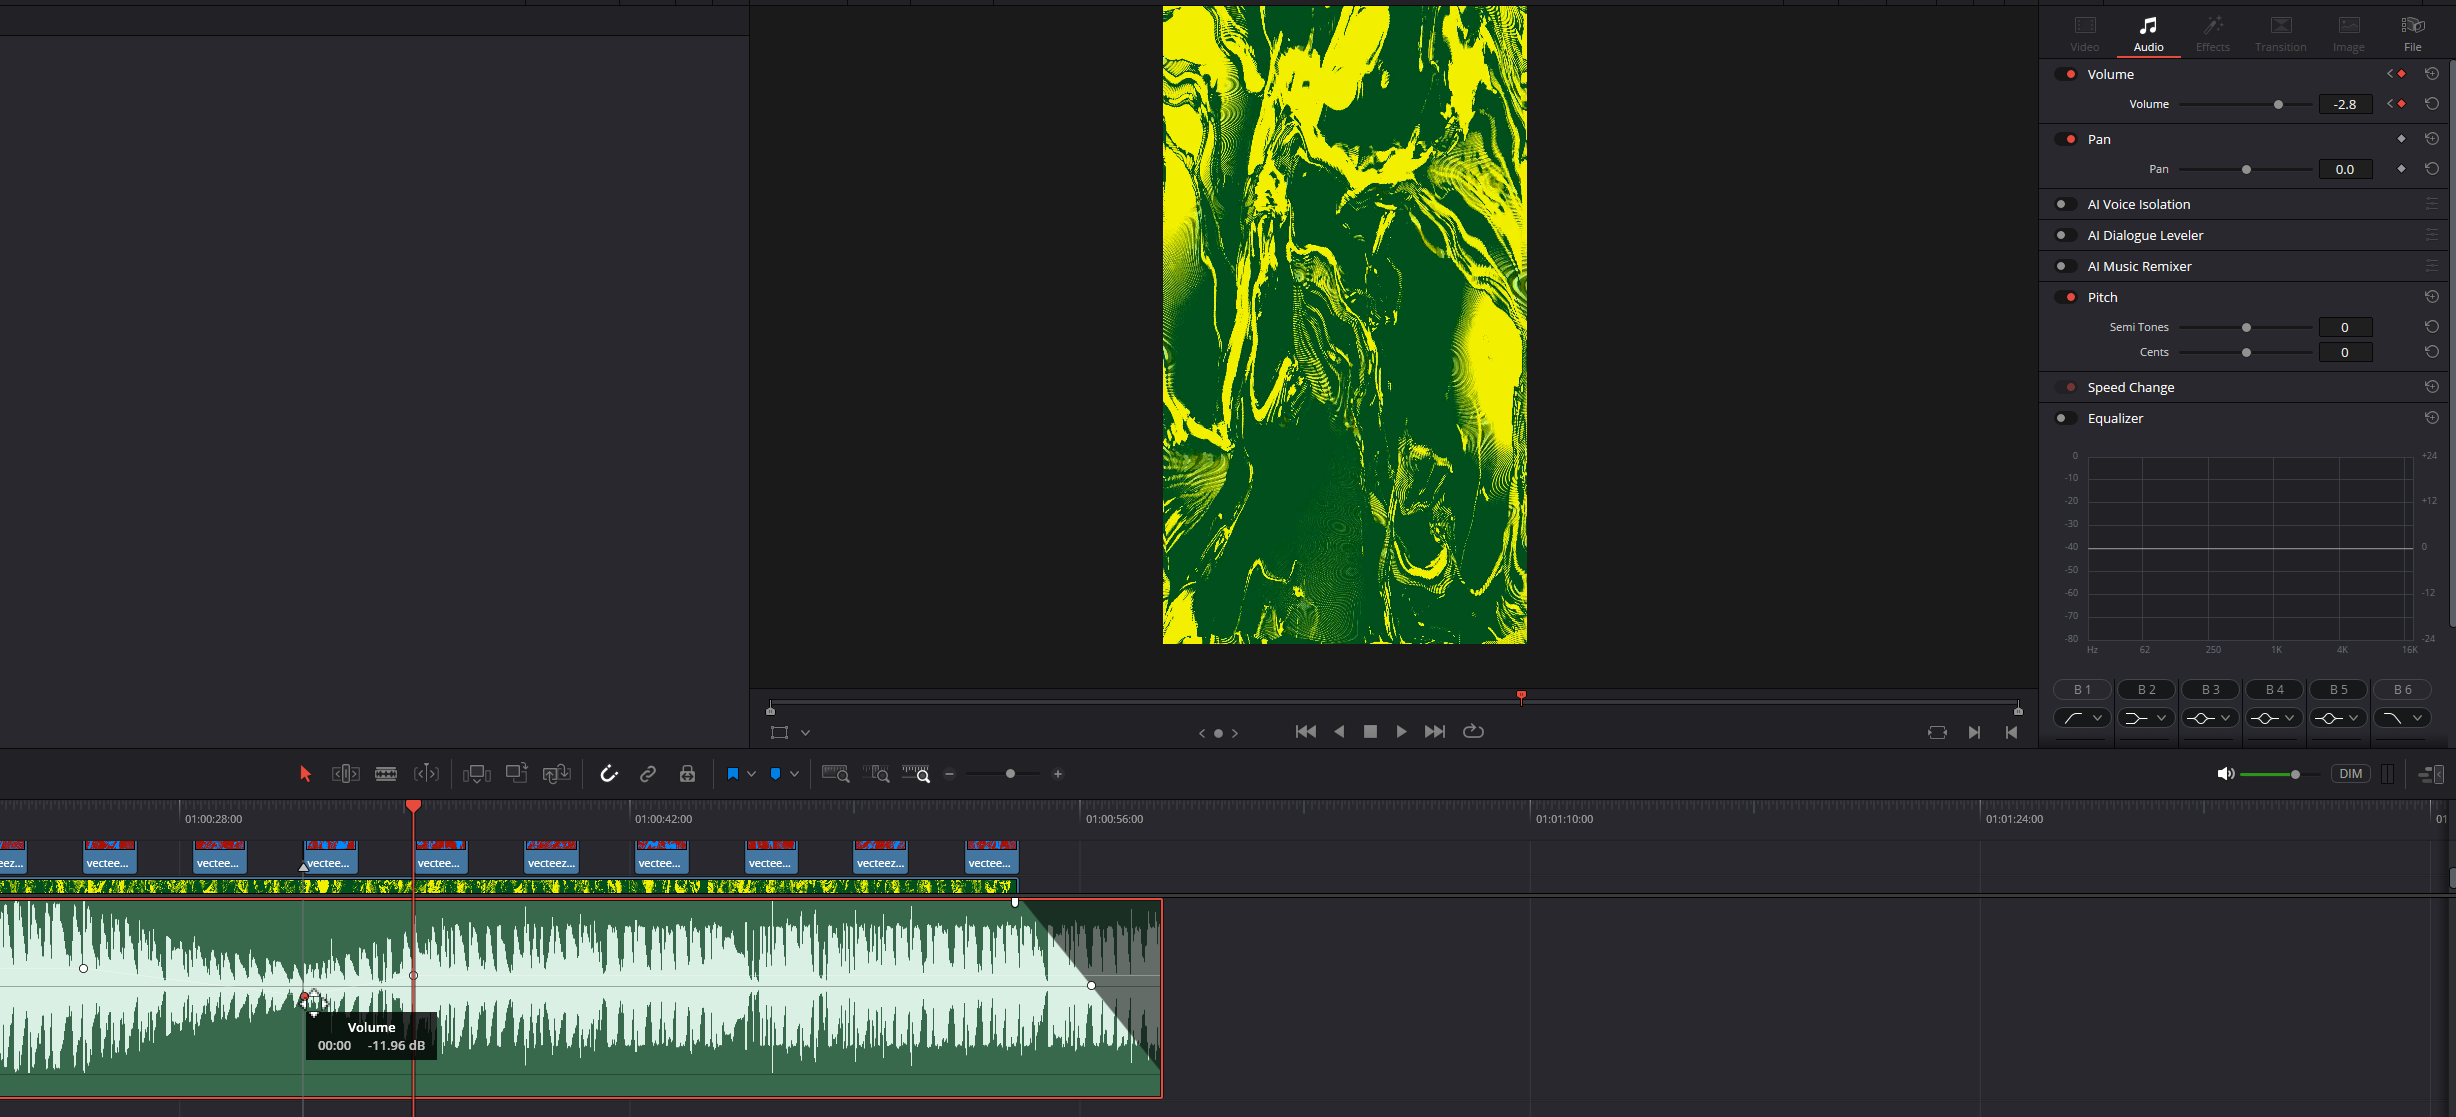
You can also automate directly in the timeline using the clip keyframe lane, which makes visual adjustments much easier.
Automation is perfect for ducking music under dialogue, emphasising specific moments, or creating more dynamic scenes.
Looping audio clips helps you extend ambience, music beds, or rhythmic effects. Resolve does not automatically loop audio, so you’ll need to duplicate your clip manually. Hold Alt, click the clip, and drag to create a duplicate. Place it directly after the original to build a seamless loop.
If you need to tidy things up, you can group the duplicates or combine them using a Compound Clip, keeping your timeline cleaner.
Top Tip: When looping ambiences, offset each duplicate by a few milliseconds and add a crossfade to avoid a noticeable looping pattern.
Reversing audio is great for transitions, build-ups, or creative sound design. Select the clip, open the Inspector, and under the Speed Change tab select the reverse button. The waveform flips to show its reversed direction.
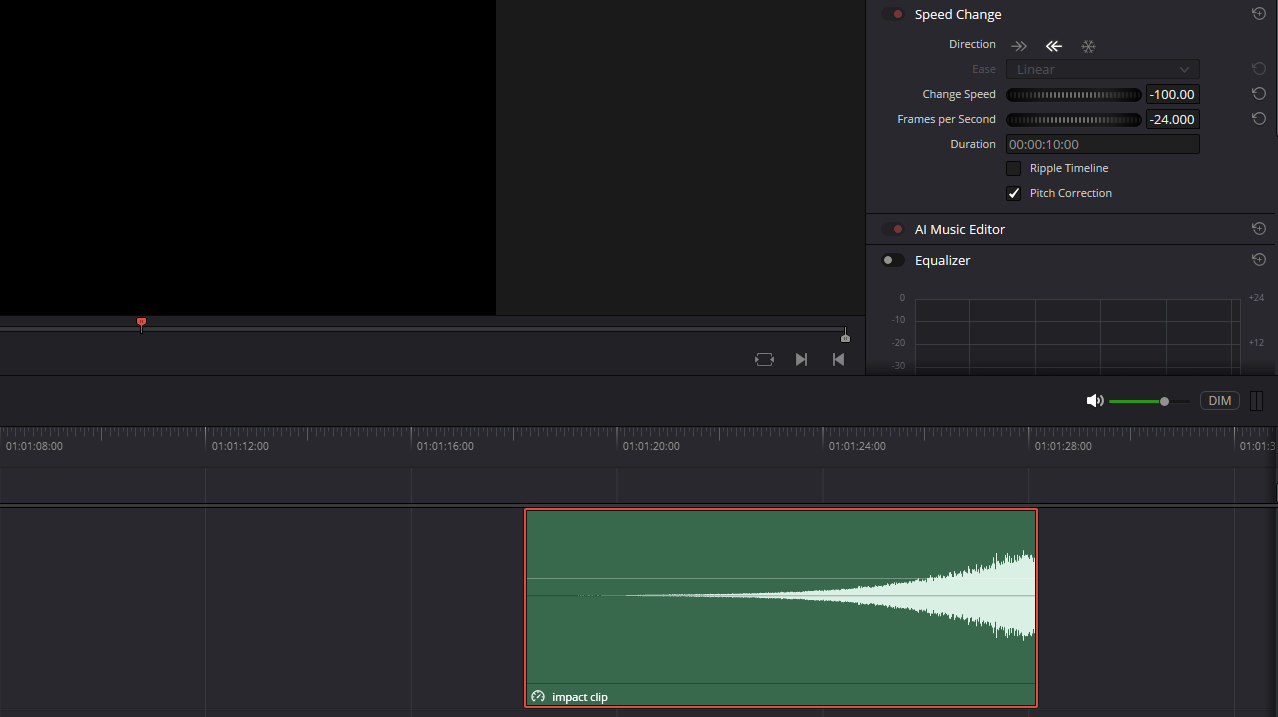
Reversed breaths, risers, or hits can add strong emphasis to scene transitions or stylised moments.
Top Tip: Add reverb before reversing for a “sucked-in” effect that works beautifully for cinematic transitions.
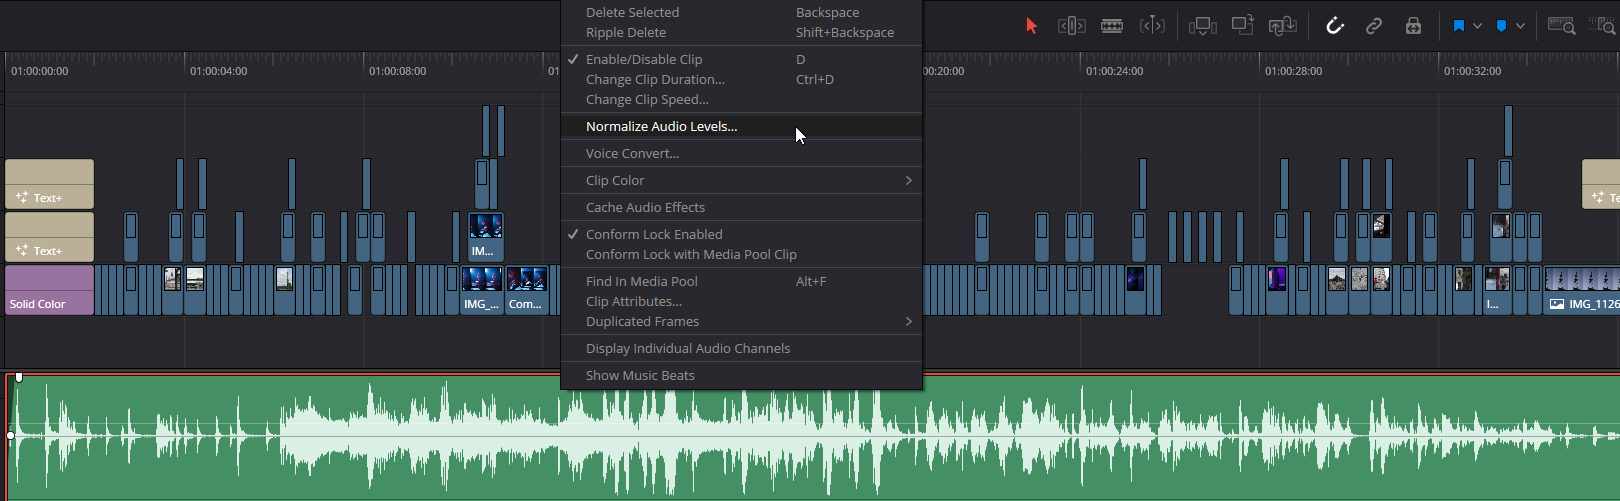
Normalising helps control inconsistent loudness by raising levels to a target value. Right-click the audio clip and choose Normalize Audio Levels. Here you can choose peak or loudness targets depending on the material.
This is especially useful for dialogue or unevenly recorded SFX. You can use compression afterwards to further smooth dynamics.
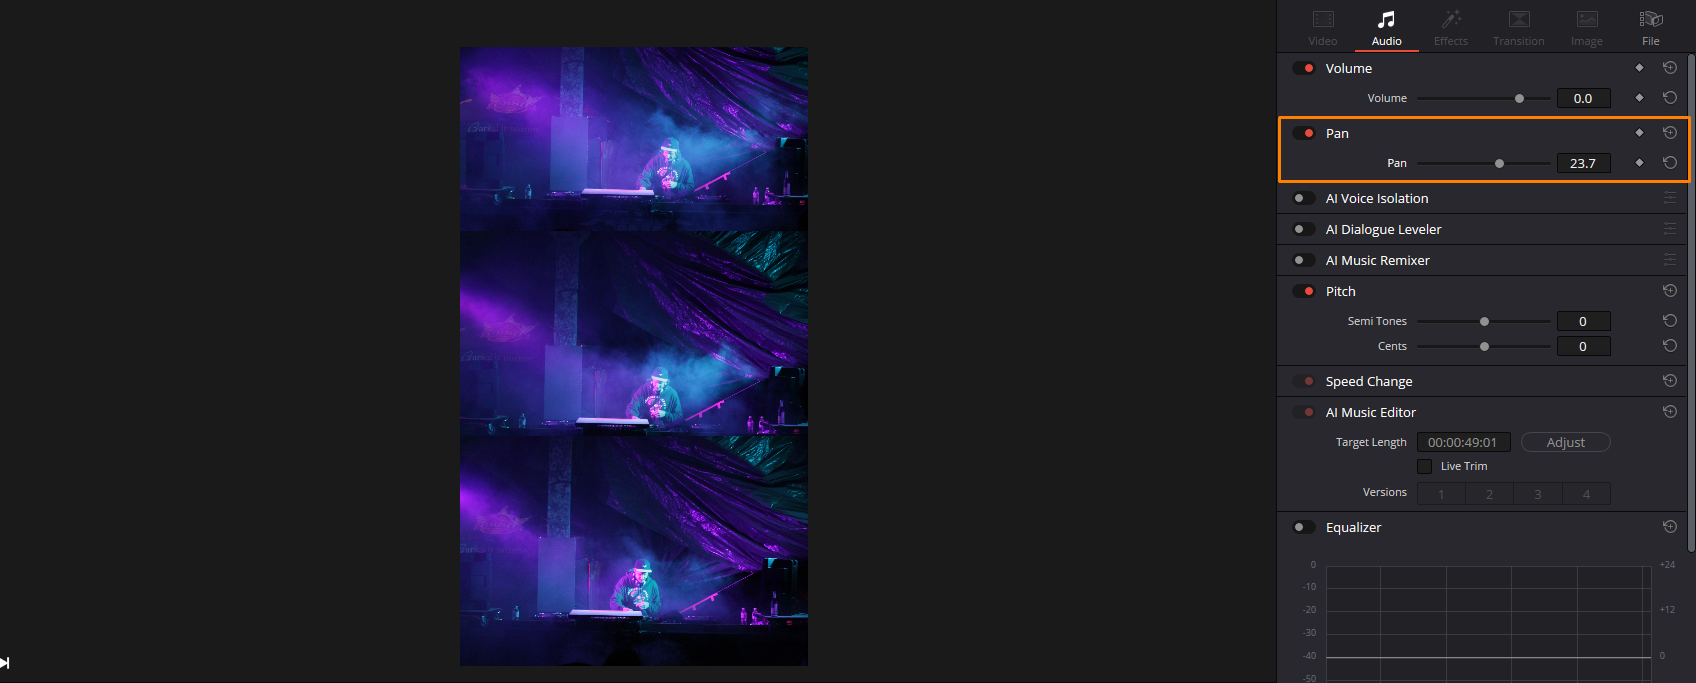
Panning places audio across the stereo field. Select your clip, open the Inspector, and adjust the Pan control to move the sound left or right. Fairlight’s audio settings offer several pan laws and stereo modes, allowing you to create more immersive mixes.
This is especially effective for matching on-screen movement or widening your soundscape.
Top Tip: Subtle movement is usually best. Extreme panning works well for creative effects but can feel unnatural in grounded scenes.
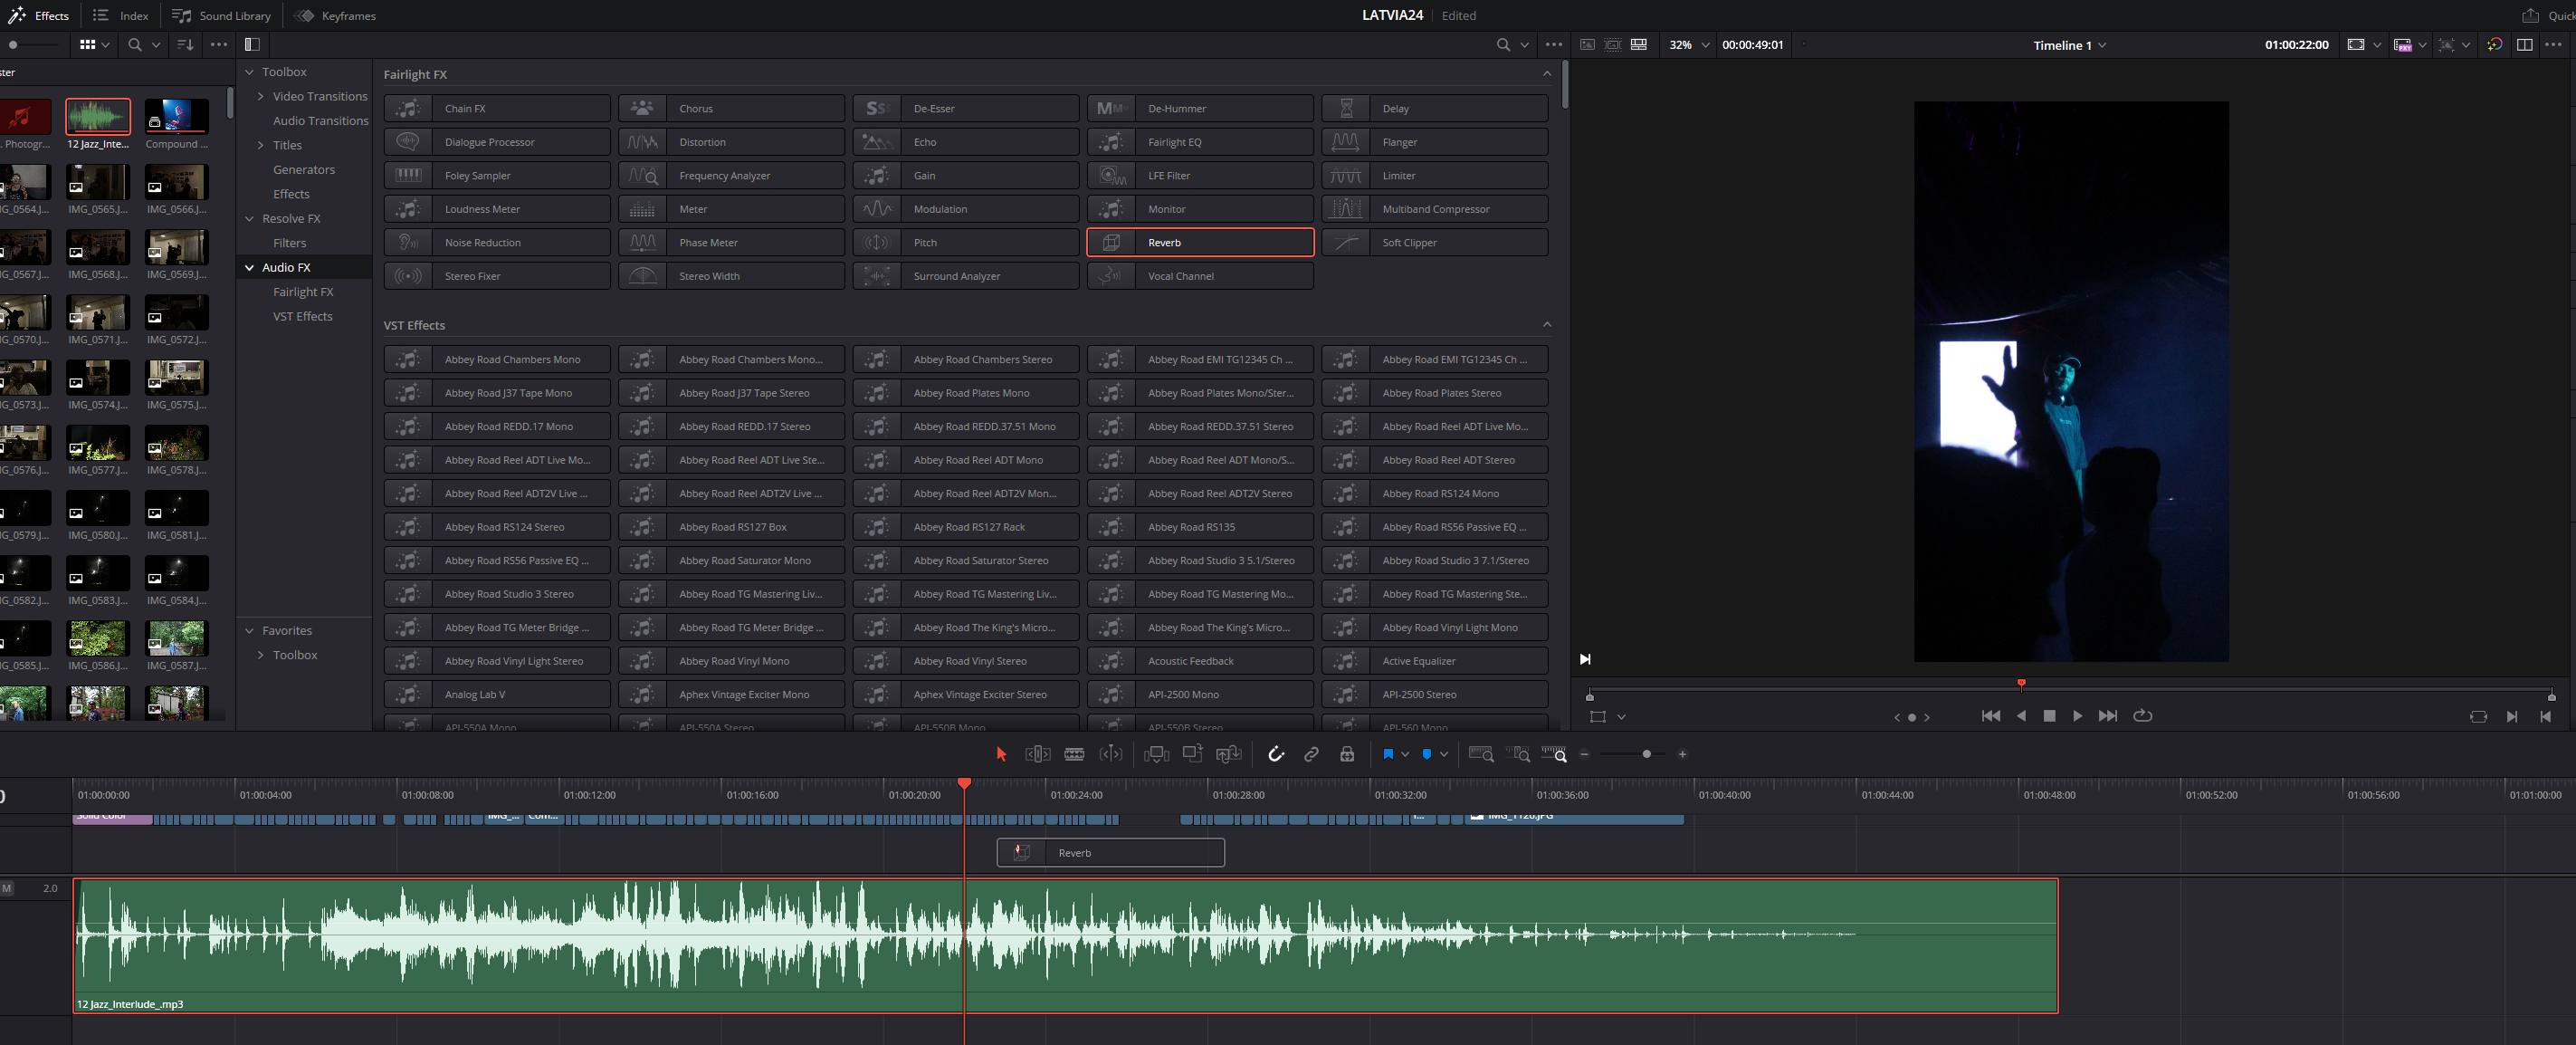
DaVinci Resolve includes a wide range of built-in audio effects such as EQ, Noise Reduction, Reverb, and Dynamics. Open the Effects Library, scroll to the Audio FX section, and drag an effect onto any clip.
Once applied, open the Inspector to adjust each effect’s parameters. This is useful for improving dialogue clarity, shaping sound effects, or enhancing ambience.
Top Tip: For deeper audio editing, switch to the Fairlight page. It offers far more control, including buses, meters, routing, and advanced plugins.
Fading in audio helps avoid sudden or harsh entrances. Hover near the start of the clip until the fade handle appears, then drag it to the right. You can adjust the fade shape by right-clicking the fade curve and choosing from several options.
Fade shapes control how gradually the sound enters, helping you match energy and pacing.
Top Tip: Short fades help avoid clicks on sound effects, even when they’re only a few frames long.
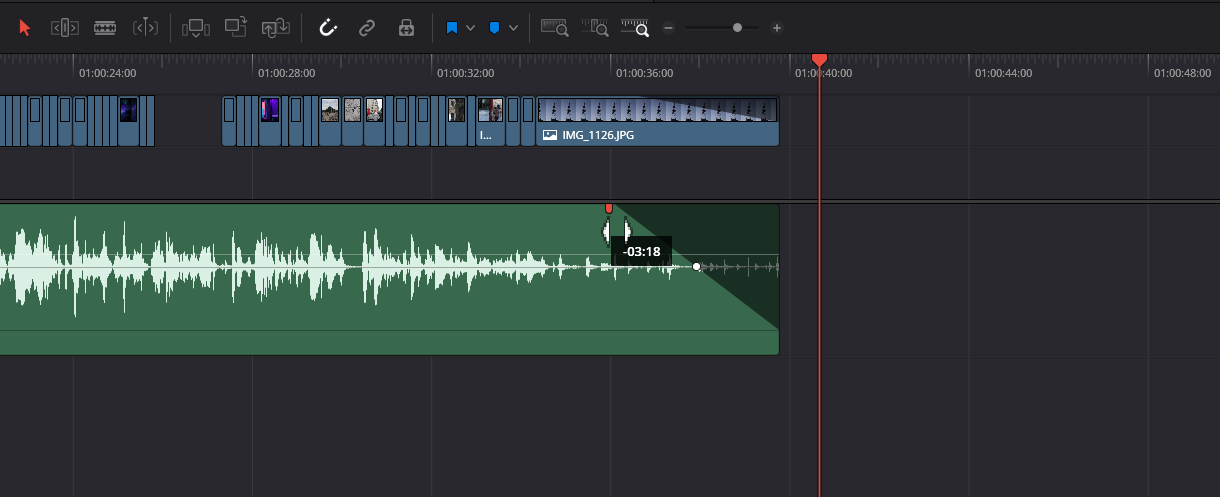
To create a fade-out, hover near the end of the clip until the fade handle appears and drag it to the left. Right-click the fade curve to choose different shapes, giving you finer control over how quickly the audio decays.
This works particularly well on music, ambience, or stems that need to finish smoothly.
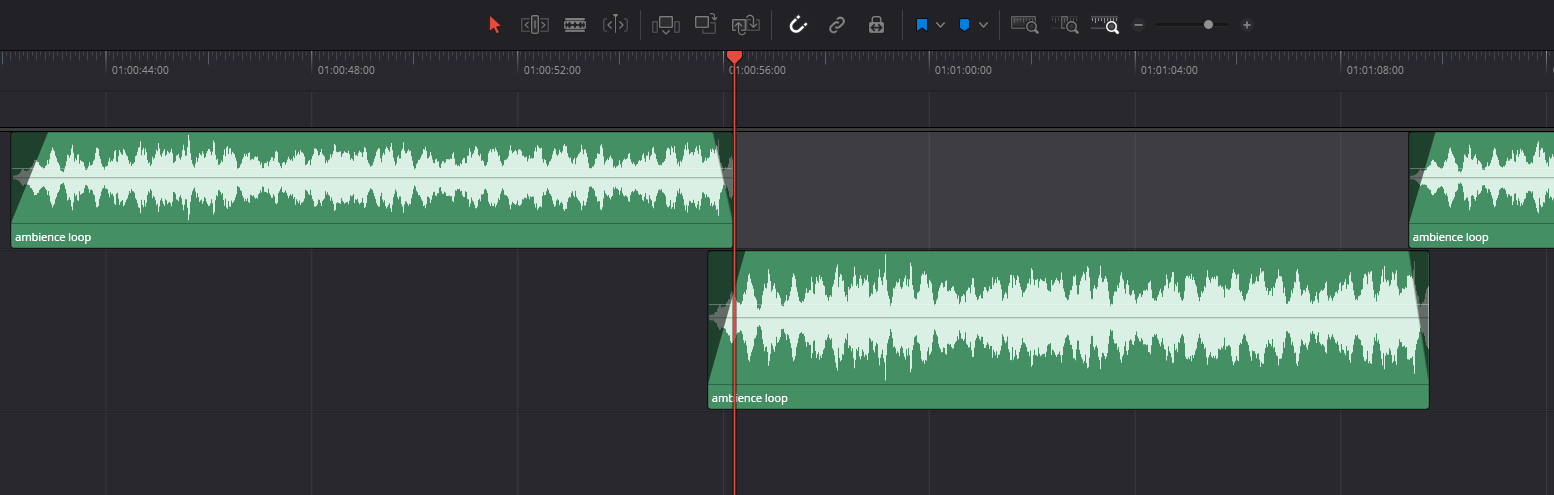
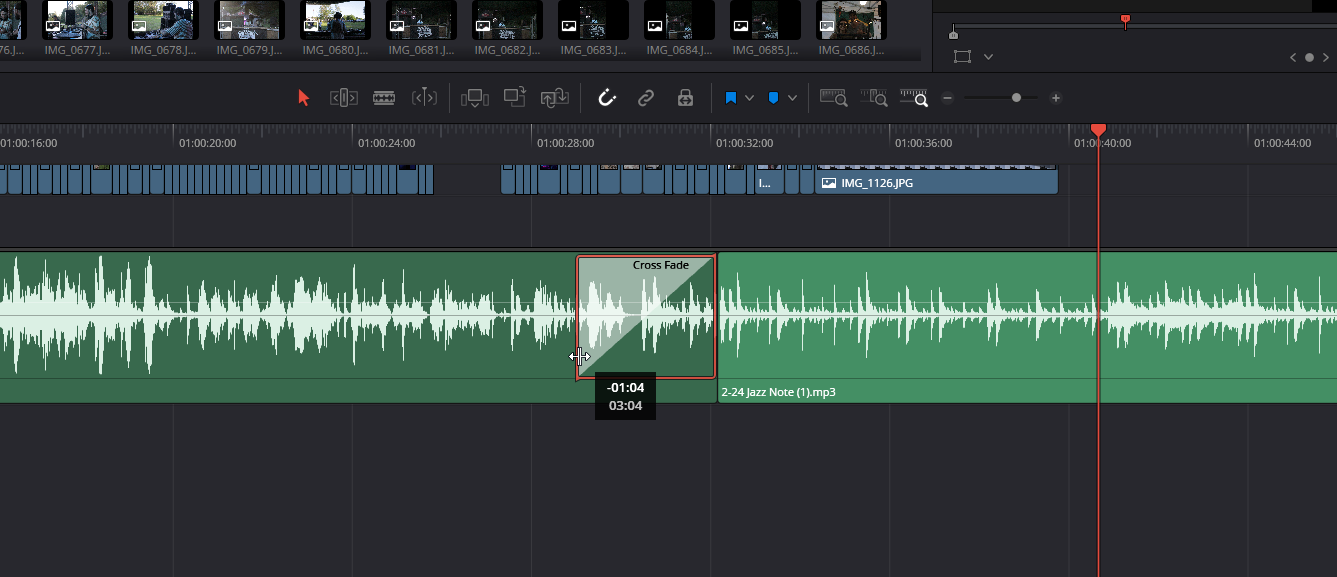
Crossfades blend two audio clips together for smoother transitions. Overlap the end of one clip with the start of another on the same track, and Resolve will automatically create a crossfade. You can lengthen or shorten the crossfade using the fade handles between the clips.
Crossfades are great for smoothing dialogue cuts, connecting ambience, or making SFX feel consistent.
Top Tip: If a crossfade sounds uneven, try matching levels or applying light EQ to both clips before blending them.
We hope this guide has helped you feel more confident working with audio clips and sound effects in DaVinci Resolve. You’re now ready to put these techniques into practice, and start shaping audio in your own projects. For more advanced tips and a more polished mix, take a look at our guide on How to Balance Music and Sound Effects.


