

Sound design in video editing is the craft of choosing, shaping and layering audio so picture reads clearer, emotions land harder and viewers stay in the moment. If you are an editor racing deadlines, this guide shows fast, practical ways to get professional results inside your timeline, without getting lost in a giant SFX folder.
What sound design actually is, and why editors notice it
Sound design links the creation, selection and precise layering of sound elements to the images on screen so audio supports clarity, emotion and spatial context. For editors this is about speed and control, not endless tinkering.
• Clarity: ensure dialogue and important on-screen sounds are intelligible and don’t compete.
• Emotion and immersion: make a scene feel bigger, tenser, or more intimate through mix choices.
Example: a short dialogue exchange outside on a windy street. Cleaned dialogue, subtle street ambience, distant traffic whooshes timed with camera pans and a low impact on the last line can turn a flat cut into a believable moment without re-recording.
When you need sound design vs when you don't
If you work on narrative scenes, promos, short films, VFX shots or anything with movement, perspective change or dramatic beats, sound design will raise perceived quality dramatically. Action, location cuts and montages almost always need design to sell motion and scale.
Conversely, talking-head edits, straight interviews and simple corporate cut-downs often only need tidy dialogue work, ambience matching and a restrained music bed. If visuals are static and the audience is informationally focused, prioritise dialogue clarity and minimal processing. Rule of thumb: if sound clarifies the message, invest a few minutes; if it distracts, keep it minimal.
The practical building blocks editors use
Dialogue cleaning and clarity
• Purpose: make speech readable and natural.
• Quick technique: trim breaths, use a gentle high-pass, subtractive EQ around 100 to 300 Hz, de-esser and light compression.
• High-impact tip: automate clip gain for problematic words before global effects to avoid over-processing.
Foley and footsteps for sync and realism
• Purpose: sync tactile movement and ground characters.
• Quick technique: spot heel and toe clicks, layer a contact thud and a room texture, nudge to match motion.
• High-impact tip: vary timing and velocity to avoid robotic repetition.
Ambience and room tone for continuity
• Purpose: mask cuts and maintain spatial consistency.
• Quick technique: use 30 to 60 seconds of room tone, loop with gentle crossfades and low-pass to sit under dialogue.
• High-impact tip: duck ambience with sidechain or automation during close dialogue moments so it never competes.
Impact and whoosh effects for movement
• Purpose: convey motion, hits and camera moves.
• Quick technique: layer a sub, a mid punch and a high transient whoosh; automate pitch or filter to match speed.
• High-impact tip: align whoosh transients to the visual hit; tens of milliseconds matter.
Music placement and emotional support
• Purpose: reinforce pacing and emotion without masking dialogue.
• Quick technique: push music 6 to 10 dB under dialogue, EQ to carve space and automate rises before cuts.
• High-impact tip: a short instrumental motif as a sonic signature ties scenes together quickly.
Quick priority rule
When time is limited, fix dialogue first, then ambience for continuity, then add SFX that affect story clarity or motion. If an SFX doesn’t change what the audience understands or feels by a meaningful margin, skip it. This keeps sessions lean and reduces pointless library hunting.
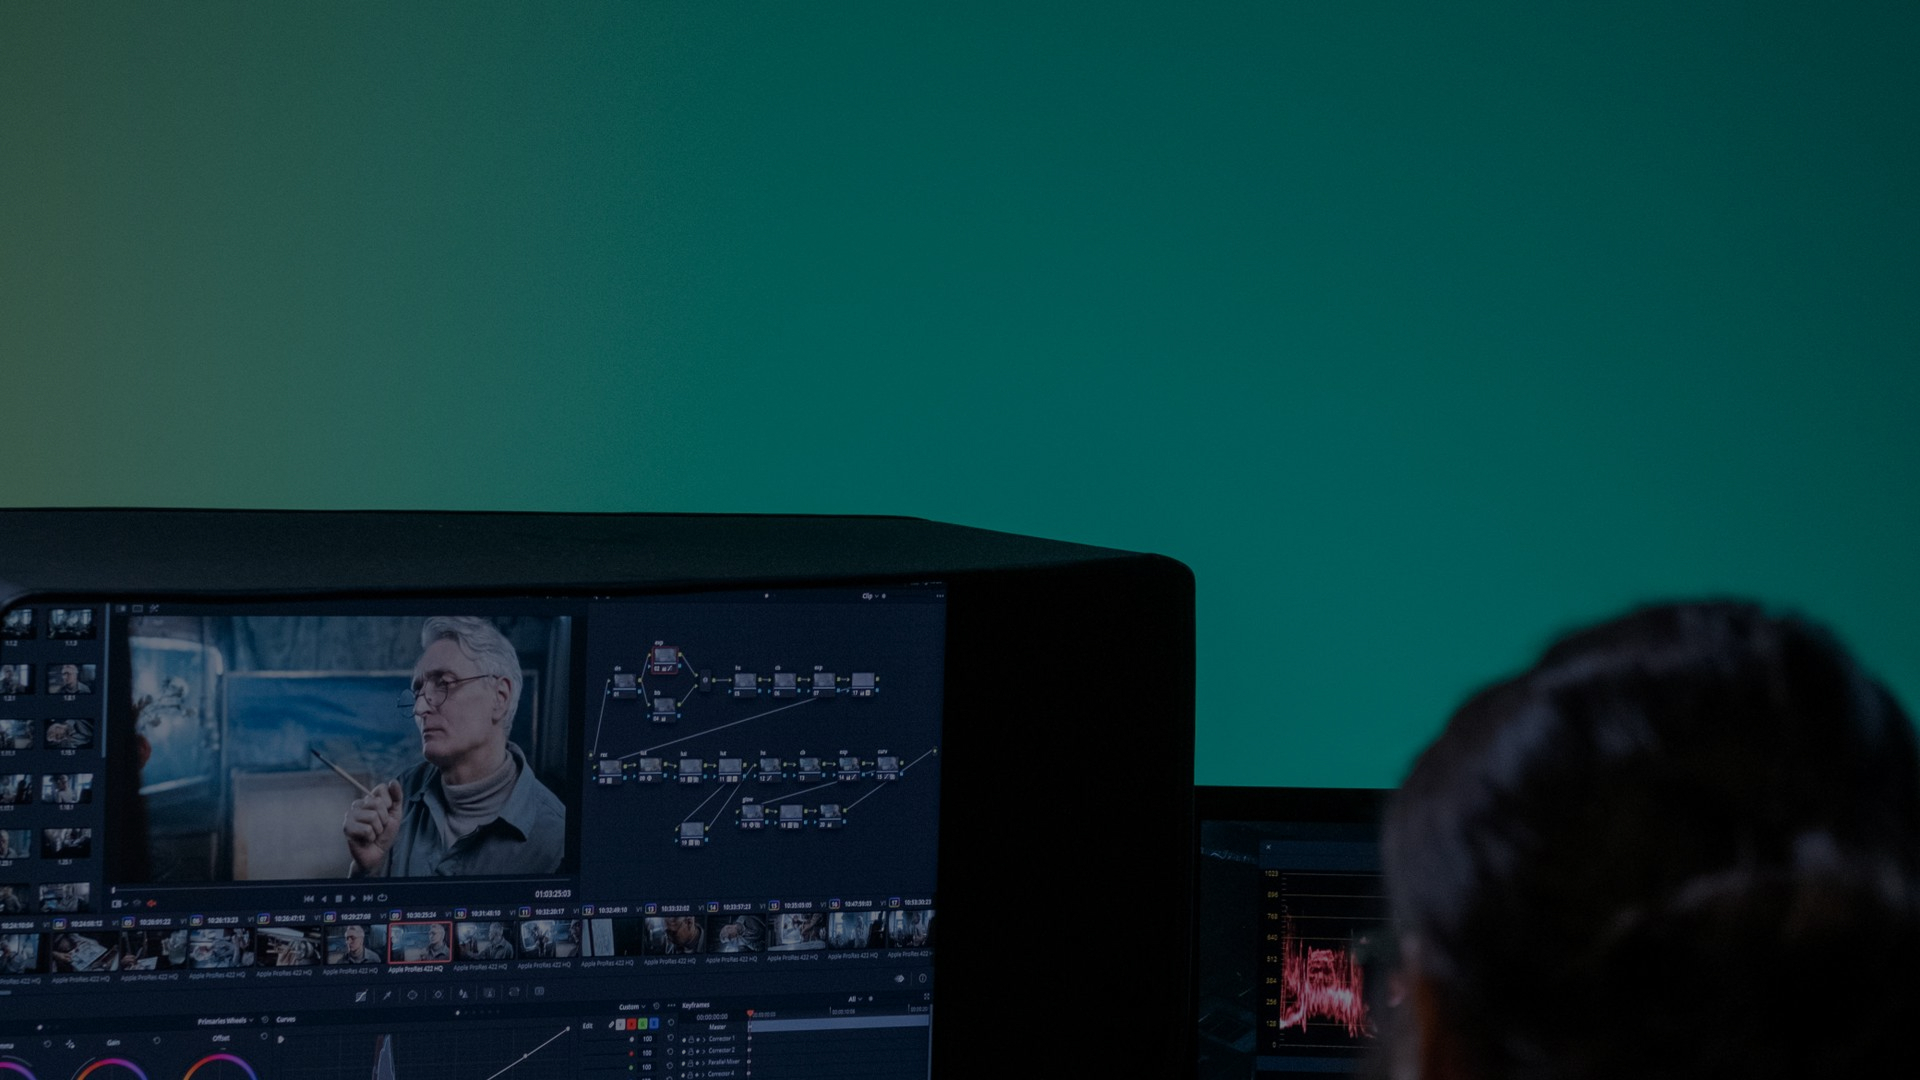
A fast, editor-focused sound-design workflow (Premiere Pro & DaVinci Resolve)
1. Prepare the timeline, 5 to 10 minutes
• Create lanes: dialogue, room tone, foley, SFX, music for instant visual clarity.
1. Quick dialogue prep, 10 to 20 minutes
• Remove loud breaths and clicks, apply a conservative high-pass (around 80 Hz), de-esser and light compression. Use clip gain automation first.
1. Spot ambience and room tone, 10 minutes
• Drop a matched ambience loop under dialogue and automate fades across cuts for continuity.
1. Place key SFX, 15 to 30 minutes
• Focus on hits tied to edits: footsteps, props and movement whooshes. Keep layers minimal and mute unused tracks.
1. Quick mix and reference, 10 minutes
• Balance stems, check on headphones and monitors, compare to a reference scene.
1. Export stems, 5 minutes
• Bounce dialogue, foley, ambience and music stems as WAV 24-bit, include timecode or reference video.
Premiere Pro quick tips
• Use label colours and track targeting to solo lanes quickly.
• Defaults: Parametric EQ, DeEsser and Dynamics save time.
• Batch-export with Media Encoder presets for multitrack stems and include a reference video.
DaVinci Resolve quick tips
• Use Clip Inspector and the Inspector for fast fades and EQ presets.
• Save a dialogue processing chain to apply to multiple clips.
• Create buses for dialogue and SFX so you can group-automate volume or apply a single master plugin.
SFX category playbook: rapid recipes for common needs
Footsteps and syncing
• Minimal layers: contact thud, mid-surface texture, optional cloth rustle.
• Sources: library hits matched to shoe type or a single recorded shoe sound shifted rhythmically.
• Mix: pan and EQ to match screen position; low-cut below ~80 Hz.
• Pitfall: identical repeats reveal looping, add timing and EQ variation.
Continuous ambience and avoiding phasing
• Minimal layers: bed ambience + occasional foreground life (car, distant dog).
• Create: record 60 seconds on location or layer two compatible library ambiences and crossfade.
• Mix: keep ambience −18 to −12 LUFS relative to dialogue and lowpass to sit behind foreground.
• Pitfall: overlapping stereo ambiences can phase, switch to mono or offset samples if thin.
Crowd beds without long recordings
• Minimal layers: close murmurs, mid-distance chatter, distant bustle.
• Approach: layer 10 to 20 second loops with different human elements and adjust reverb depth.
• Mix: dip 1 to 3 kHz in the crowd bed so dialogue remains clear.
• Pitfall: crowd dynamics competing with lines, automate ducking.
Cinematic whooshes and movement
• Minimal layers: low sweep, mid whoosh, top transient.
• Create: pitch automation and filter sweeps on a synth or processed riser.
• Mix: align transient to visual cut and tame lows under 80 Hz.
• Pitfall: too much loudness or reverb smears timing.
When to choose library sounds vs create your own
Use libraries when time is tight and the sound can be generic, traffic, broad crowd beds, ambience. Record/create when the sound is unique, sync-critical, or will be featured close-up. Consider budget, turnaround and licensing: libraries are fast and legally safe; home recordings are unique but need editing and proper metadata.
Tools, formats and pipelines that save real time
Preferred export formats and stem strategy
• Use WAV 24-bit at the project sample rate for stems. Freeze buses and export dialogue, foley, ambience, SFX and music separately.
• Include a reference premix WAV and a low-res MP3 for quick client checks.
Pipeline diagram in text form
• Edit timeline -> Freeze/print premix -> Export stems (dialogue, foley, ambience, SFX, music) -> Deliver with reference video and metadata.
Compatibility notes
• Premiere and Resolve accept WAV stems directly; Pro Tools can import OMF/AAF for deeper handovers. Game engines prefer clear single-shot WAVs and consistent naming; middleware like FMOD and Wwise want organised libraries.
Searchable metadata and library organisation
• Use folders by category and scene, consistent filenames like SFX_scene_category_variant.wav and add a simple CSV for quick searching. Tag by intensity, duration and tempo to speed retrieval.
Fast export checklist for handoff
• Dialogue stem cleaned and rendered.
• Foley stem grouped by scene.
• Ambience stem(s), labelled and looped.
• SFX stem with transient hits and whooshes.
• Music stem(s), dry with cues.
• Reference premix WAV and low-res MP3.
• Timecode-aligned reference video.
• Readme with sample rate, bit depth and routing notes.
• Metadata CSV and licence/source notes for third-party sounds.
Speed wins, and a calm note on AI, ethics and deliverables
Part A, high-impact pre-delivery checklist
1. Dialogue intelligibility check on headphones and speakers.
2. LUFS check against client spec or reference.
3. Remove clicks, pops and stray noises.
4. Ambience continuity across cuts.
5. Check phase on stereo beds and mono compatibility.
6. Confirm key SFX align with visual hits.
7. Quick volume automation pass for cluttered passages.
8. Ensure music does not mask vocals.
9. Include a reference video and timecode with exports.
10. Verify metadata and filenames.
Pre-delivery lightning checklist
Run the ten items above in the final five minutes, prioritising dialogue intelligibility, LUFS compliance and a final listen on headphones, desktop speakers and a small consumer device. Fix the most damaging issue and re-export.
Responsible AI in one paragraph
When using AI for procedural SFX or assisted editing, favour tools that are transparent, provide editable outputs and respect source rights. Disclose AI-created elements when required, keep creative control, and use tools with clear licensing to keep deliverables defensible for clients and legal review.
Try it and join others for fast wins
If you want to test rapid sound design workflows, try Krotos tools with a free trial or join the creator community for presets, quick-start projects and forum support. You’ll find time-saving templates, ready-made SFX recipes and peer tips that cut hunting time and deliver cleaner mixes faster.
Frequently asked questions
What is an example of sound design?
Replacing on-set background noise with a tailored ambience bed, adding synchronised footsteps and whooshes for camera moves, then mixing a music cue that supports the emotional arc. Together these layers transform a flat picture into a convincing scene.
What are the 5 main elements of sound design in film?
Dialogue, foley, ambience, sound effects and music. Dialogue carries information, foley provides tactile realism, ambience sets location, effects create impact, and music shapes emotion and pacing.
What are the two main purposes of sound design?
To convey information clearly, so viewers understand dialogue and on-screen actions, and to shape the emotional or immersive experience so the story feels convincing and engaging.
Is sound design difficult?
It can be both straightforward and demanding. Technically simple tasks like noise reduction or EQ are quick to learn; the creative choices, what to emphasise, how to layer elements and how to support the director’s intent, require practice, good listening and confident priorities. With a focused workflow and judgment about what truly affects the story, editors can deliver professional results quickly.