
Dialogue editing is the post production craft of turning production‑recorded speech into a clean, consistent, performance‑ready track. This guide gives a fast, practical workflow you can apply in Adobe Premiere Pro, DaVinci Resolve or a DAW, with step‑by‑step checks, time savers and handoff notes so you can finish scenes faster without sacrificing emotional nuance.
What dialogue editing actually is (the quick version)
Dialogue editing is distinct from mixing. It focuses on organising material, cleaning noise, comping multiple takes and doing the basic corrective work that makes dialogue sit correctly before the mixer adds polish. It is not the final mix, but it is what makes the mixable, usable dialogue stems that editors, mixers and directors can rely on.
Result checklist
• Organised clips and named takes for easy reference
• Noise and clicks removed, level jumps smoothed
• A comped dialogue track that reads as a continuous performance
Core outcome
A viewer should hear speech that feels natural, readable and emotionally consistent, with cuts that are invisible and without distracting clicks or level jumps. The dialogue editor delivers that continuity and consistency, flagging anything the mixer must fix, and handing over stems and notes so the rest of the team can finish quickly.
The two-phase workflow: cleanup then enhancement
1. Phase 1, cleanup, priority one
• Synchronise production audio with picture, label and organise takes, and build a rough comp of the best performances. Remove loud clicks, pops and hums, fix sudden level jumps with clip gain or automation and apply surgical repairs where needed.
• Rationale: these tasks unblock the rest of the session and reduce the time the mixer spends on obvious problems.
1. Phase 2, enhancement, priority two
• Apply gentle EQ to remove mud or fizz, use de‑essing for sibilance, add subtle reverb or matching room tone and perform final matching across cuts so ambience stays steady.
• Rationale: enhancement makes the dialogue read as part of the scene rather than a collection of cleaned clips.
When to stop editing and hand to the mixer
• Levels are consistent across cuts and speakers, so the dialogue sits at a predictable reference loudness
• No clicks, pops or obvious spectral artefacts remain in the dialogue region
• Breath and mouth noises are controlled where they distract, but performance breaths remain natural
• Room tone is matched between takes and gaps are filled with tail fades or short ambience loops
• Comping decisions are documented with take numbers and timecode, and any questionable moments are flagged If these boxes are ticked, the mixer should be able to focus on balance, creative EQ and spatial placement rather than patching basic problems.
A speed-first, step-by-step checklist (for a single scene)
1. Quickly ingest and organise
• Rename clips by scene_take_mic (for example S03_T02_LAV) and put them in a dedicated bin. Good naming saves minutes every time you search.
1. Sync to picture
• Use waveform or timecode sync tools to align production audio to the video reference, then lock the sync for comping.
1. Make a quick performance comp
• Create a comp track, drop best takes on top and use quick split/disable workflow to audition alternatives without destroying originals.
1. Remove obvious noises
• Use a noise reduction pass on long background hums and spectral repair or click removal for pops. Work in small sections, not the whole clip at once.
1. Fix level jumps with clip gain
• Apply clip gain to reduce large level changes, then smooth with short automation moves to avoid pumping.
1. Crossfade cleanly
• Use short linear or constant power crossfades, tweaked per cut point so consonants do not smear. Typical start point is small, then increase until the cut is inaudible.
1. Manage breaths and mouth noises
• Reduce breaths with short fades or clip gain rather than full deletion. Preserve expression; remove only when they collide with important words.
1. Add light EQ and de‑essing
• Roll off below 80 Hz to remove rumble, address resonant peaks and use de‑essing to control harsh sibilants.
1. Match room tone and ambience
• Copy a short room tone loop under quieter sections to keep noise consistency between cuts.
1. Annotate and prepare stems
• Document chosen comps, problem areas and preferred takes with markers and notes.
Time-savers and shortcuts
• Templates and presets, such as a session template with common track routings and processing chains, cut setup time.
• Batch processing for noise reduction across multiple files is quicker than hand repairing every clip.
• Use markers and colour tags to mark good, poor and alternate takes so comping is fast.
• Spectral selection tools let you target mouth clicks without affecting surrounding audio.
• Save automation and effect presets for repetitive tasks like de‑essing or gentle broadband EQ to apply with one click.
Practical tips for Adobe Premiere Pro, DaVinci Resolve and DAW handoff
• Premiere Pro
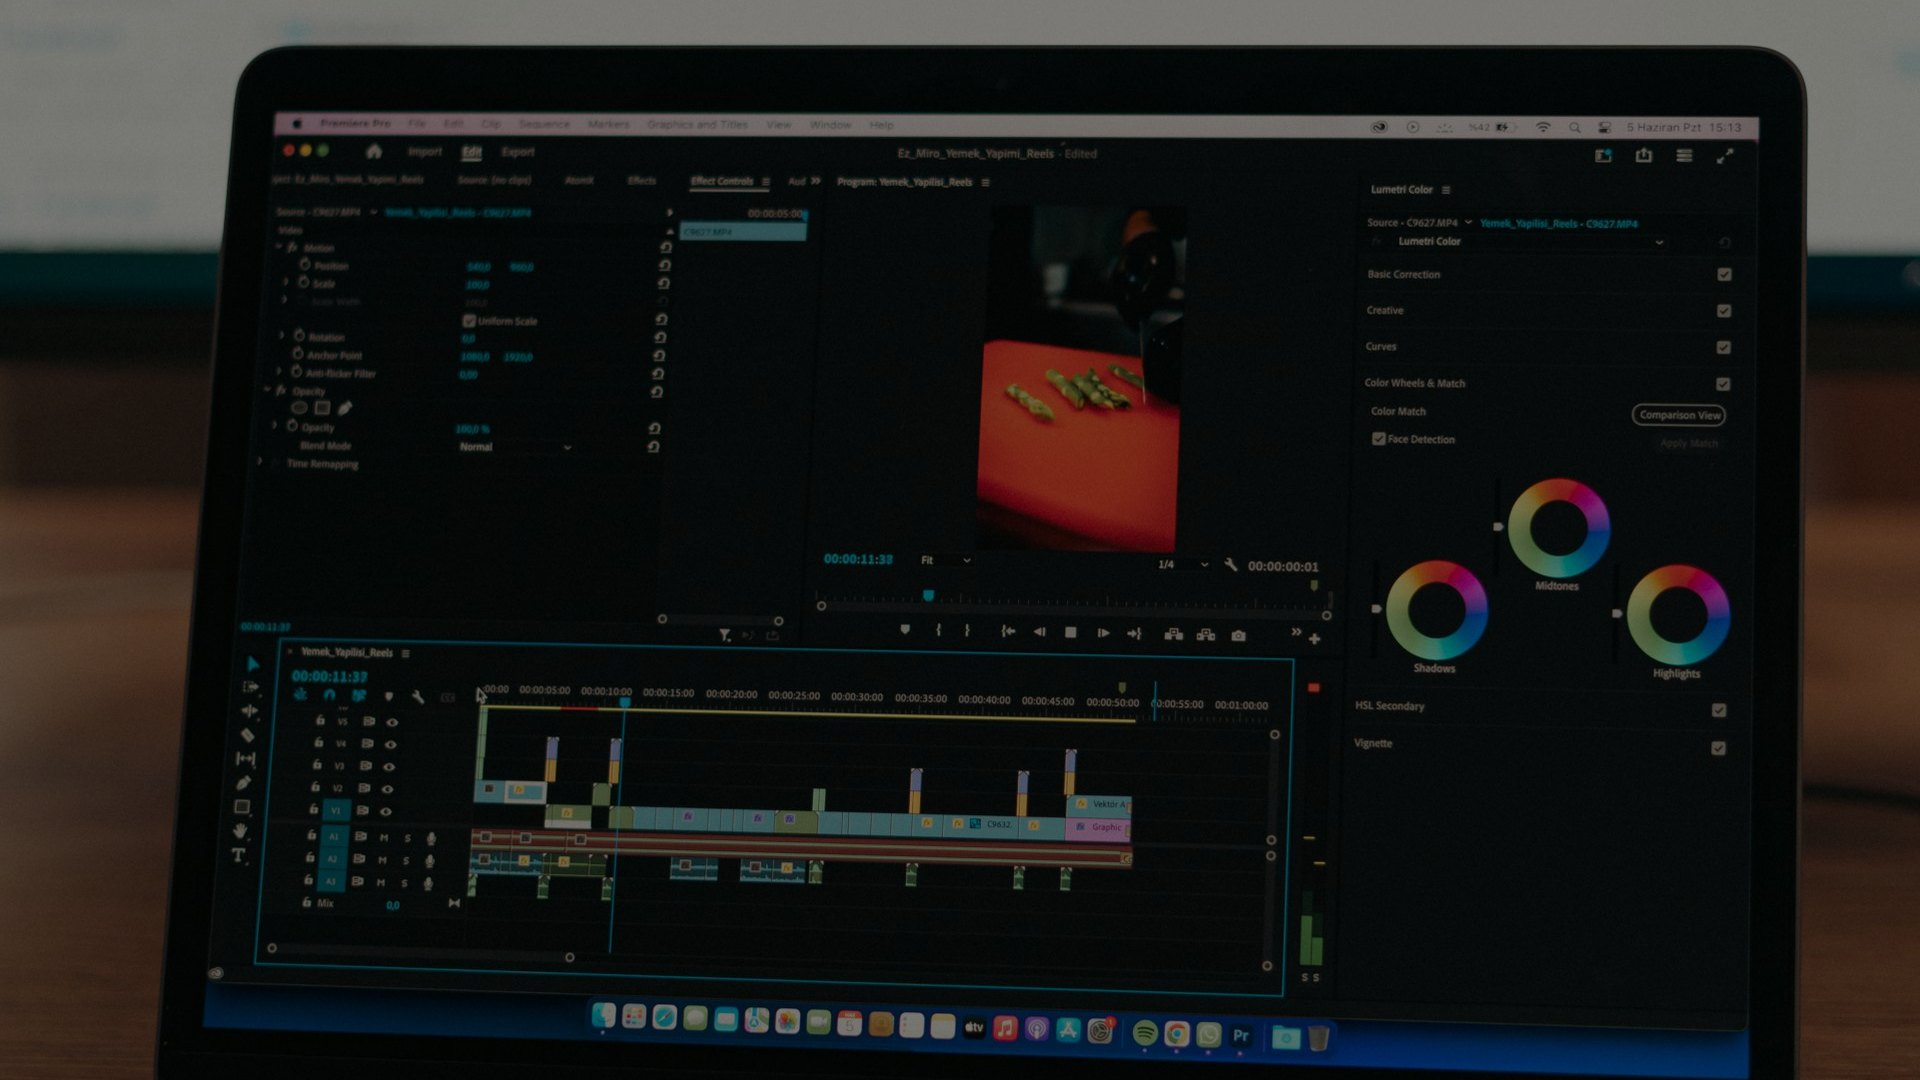
• Use clip gain for quick level fixes; attach markers to clips and use multicam or stacked tracks for fast comping. Keep basic effects on the clip level for quick bypassing.
• DaVinci Resolve
• Use the Fairlight page for tighter clip editing and automation. Take advantage of clip-level gain and the inspector for fast spectral repairs.
• DAW handoff
• Export selected takes or comp stems as separate files, keep an edit decision list if needed and prepare an OMF/AAF when the mixer requires session recall.
• Game audio pipelines
• When handed to a game audio lead, include clear naming conventions and metadata for events, and export dry and ambienced versions to give designers flexibility.
Export checklist
• Deliver stems: dialogue stem per scene or per character as required
• Include a short reference mix at project sample rate and bit depth
• Confirm sample rate, bit depth and timecode origin match the picture edit
• Attach a notes document that lists comps, problem areas, preferred takes and timecodes
• Provide dry and room tone versions if game audio or interactive use is anticipated
Automation, video-to-sound tools and ethical boundaries
Automation earns its place when it speeds repetitive, predictable tasks. Use batch denoising, adaptive gates and template processing for straightforward noise floors and mic issues. Automated tools can reduce manual work by a large margin, but they are not a substitute for human decisions where performance and emotional nuance matter.
On AI and synthetic audio, be clear and transparent. Automated suggestions are useful for cleaning and pattern recognition, but any synthetic replacement of an actor or speaker should be avoided unless legal and creative permissions are explicit. Keep provenance and attribution for generated material and document what was replaced so the production remains ethically and legally sound.
Trust checklist for automated fixes
• A/B the processed audio against the original to spot artefacts
• Check sync and alignment after batch processing
• Listen on multiple speakers or headphones to confirm no loss of intelligibility or added phase issues
• Flag any automated changes that affect performance for director or producer approval
Final QA and delivery: short technical and editorial checks
Technical checks
• Loudness and headroom: verify your reference level and leave headroom for the mix
• Phase and mono compatibility: collapse important sections to mono to check for cancellations
• Sample rate and bit depth: ensure exports match project and mixer expectations
Editorial checks
• Ambience match: listen across cuts for consistent room tone and reverb tails
• Performance continuity: ensure emotional arc and emphases do not jump between edits
• Documentation: mark problem spots, preferred comps and ADR needs
If you only have 2 minutes
• Check levels quickly against your reference loudness and add clip gain if a section is too low or hot
• Scrub through the scene listening for clicks, pops and sync issues, fix any that jump out
• Confirm room tone is present under gaps so cuts do not sound dry or hollow
If you want to speed this further, try Krotos tools with a free trial or demo to explore fast noise workflows, batch processing and ready‑made presets that fit common editorial needs. Join the Krotos creator community for templates, workflow guides and quick support from other editors and sound designers.
Frequently asked questions
What is dialog editing?
Dialogue editing is the post production task of organising, cleaning and comping recorded speech so it becomes a continuous, readable performance. It includes synchronising audio to picture, removing noise and clicks, levelling and making editorial choices about which takes to use, but it stops short of the final creative mix.
Dialogue editors also prepare clear deliverables and notes for mixers, indicating where problems remain, which takes were preferred, and any ADR or re‑recording that may be required.
How long does dialogue editing take?
Time varies by project complexity. A simple single‑camera scene with clean production audio can be edited in under an hour, while multi‑camera, noisy environments or scenes requiring heavy comping and repair can take several hours to a day. For features and games, expect scene complexity, legal approvals and ADR to lengthen schedules.
Use the two‑phase approach: rapid cleanup first to make the scene usable, then refinement. That way you get a mix‑ready track quickly, and can budget additional time for creative comping or extensive spectral repair if needed.
