

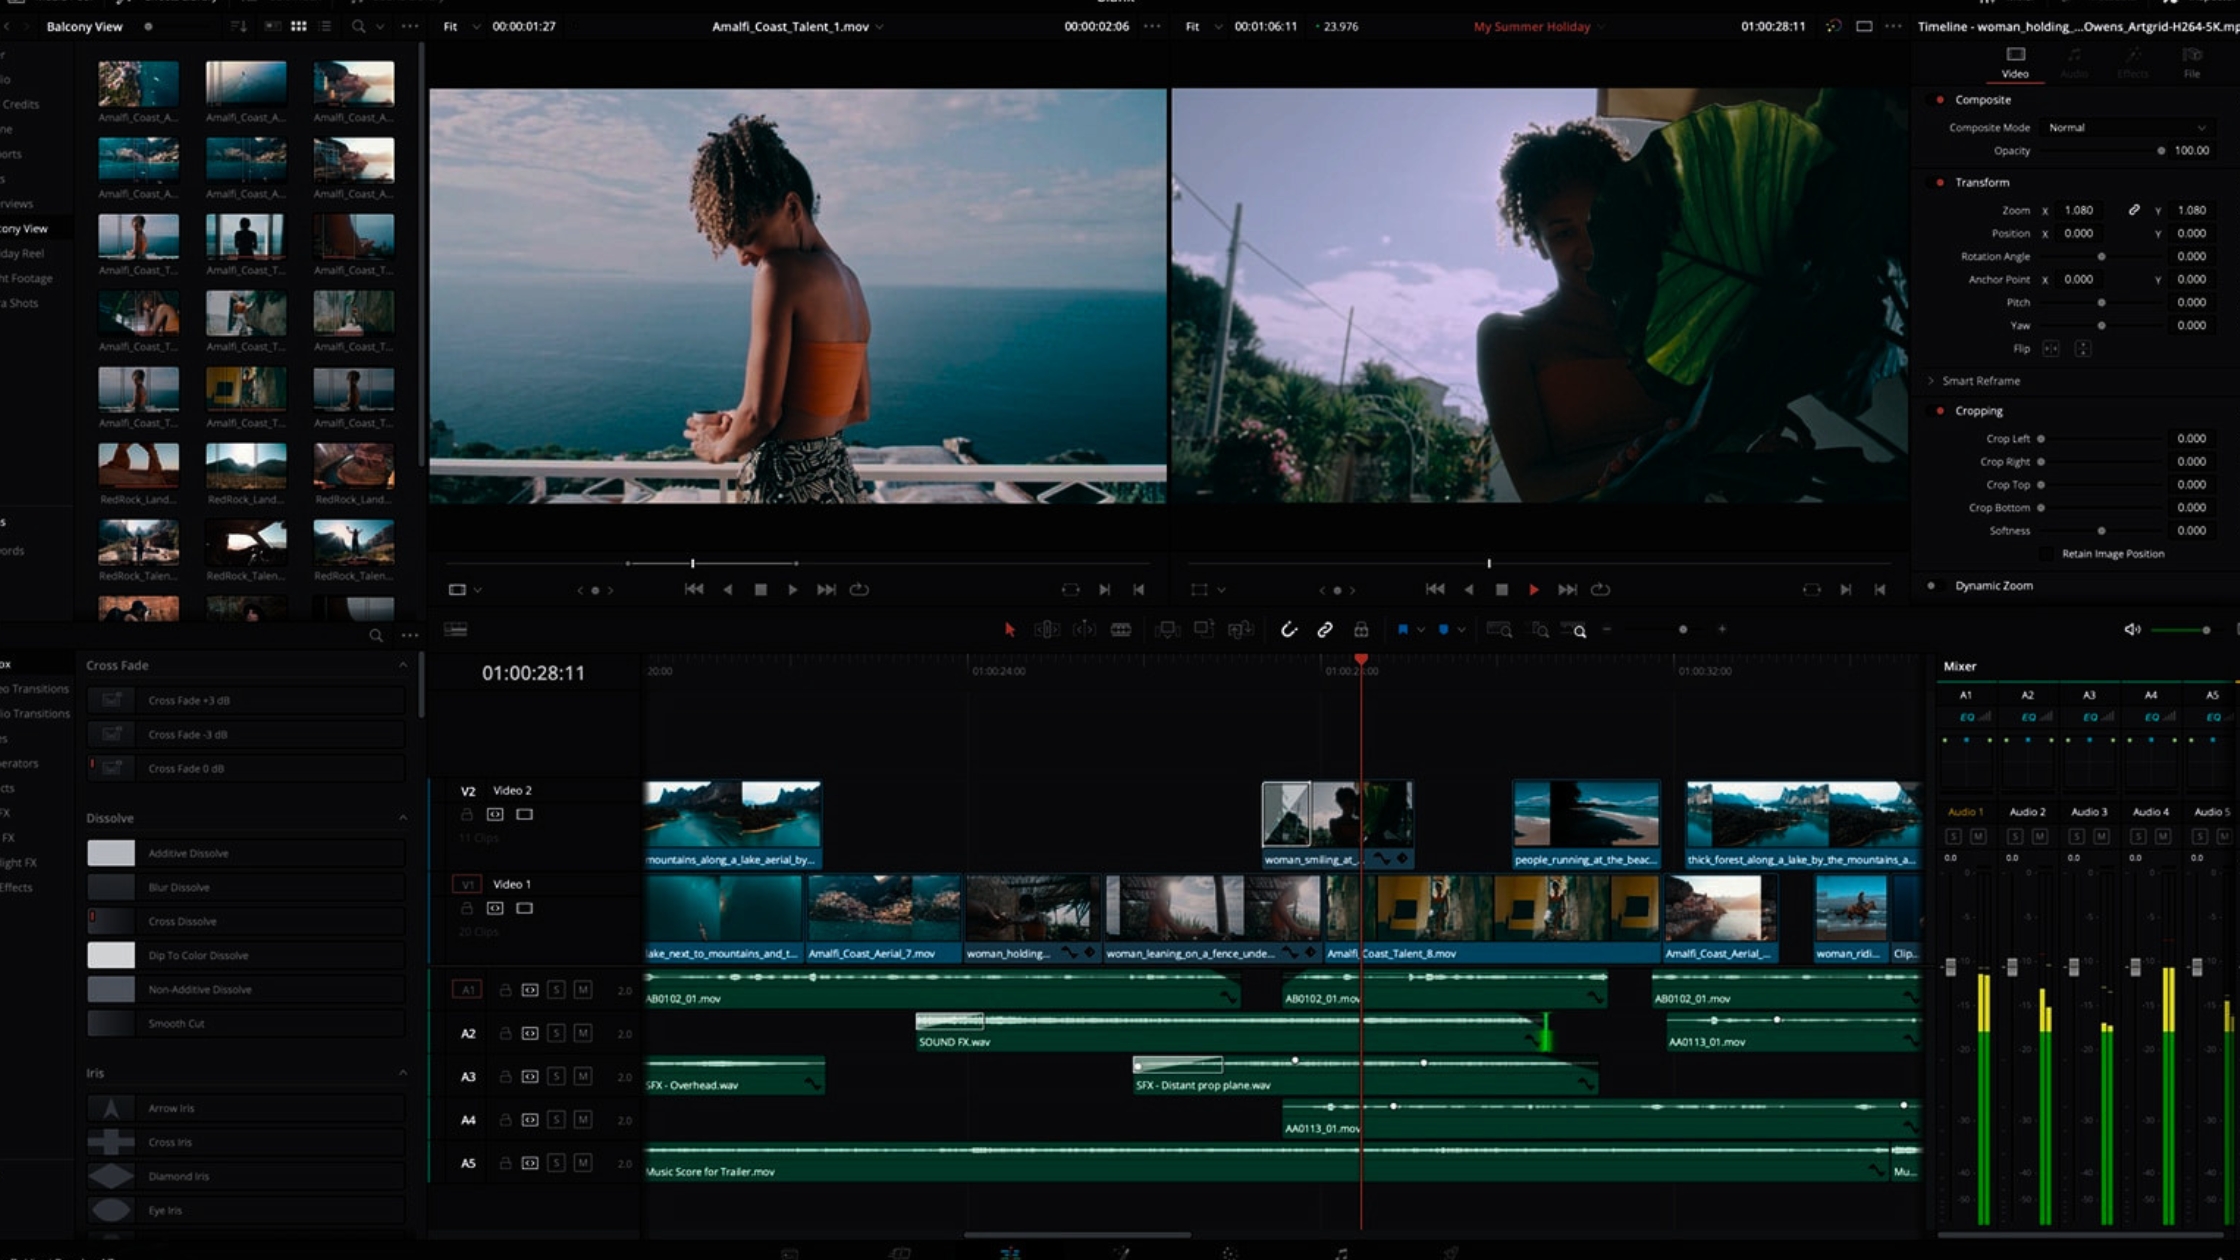
Most people rush the snip. They eyeball a waveform, chop it, and move on. That quick decision usually costs time later: missing consonants, clicks, dropped ambience and awkward pacing that need fixes across the scene. This guide gives you a tidy, keyboard-driven workflow for Premiere Pro and DaVinci Resolve that keeps edits natural and export-ready, plus short checks you can run in two minutes to avoid rework.
Common trimming mistakes that make your audio sound amateur
Experienced editors bruise their timelines the same way. Cutting to the waveform without listening loses leading consonants and breaths, which makes dialogue and foley sound disjointed. Hard cuts with no fades or crossfades create clicks, pops and sudden level jumps that grab attention for the wrong reasons. Ignoring room tone and ambience produces edits that read as gaps, so the ear says something is missing even when the image looks fine. And when clips are unorganised, markerless or undocumented, accidental deletions and misplaced trims become a workflow hazard.
Why abrupt trims betray the performance
Removing tiny bits of audio can remove emotional nuance. Leading consonants and breaths contribute to phrasing and intention; chopping them off makes a line feel clipped or hurried. Trailing decay and reverb tails give a sense of space, and cutting them too early makes Foley snaps and dialogue end unnaturally. When you preserve these micro-elements you retain the actor's rhythm and the scene's realism.
The visual-only trap
Waveform peaks are useful, but they do not tell the whole story. Transient energy, subtle breaths, and reverb tails can be hidden behind similar-looking peaks. If you edit by sight alone you will likely misplace edit points where a breath or a soft consonant sits under the waveform. Listen in context at a comfortable level, and trust your ears to find the real edit points.
Principles for fast, clean trimming that stays invisible
Adopt a few principles and trimming becomes predictable. First, always listen in context, with picture and supporting tracks playing. That ensures edits sit with other elements and preserve pacing. Use short fades or crossfades to disguise joins, instead of trying to micro-edit every sample. Matching room tone and ambience around cuts makes joins read as continuous rather than patched. Finally, work non-destructively and learn a small set of keyboard shortcuts that speed repeatable tasks, so you do more with less mouse travel.
Prioritise intelligibility and emotional rhythm
Choose edit points that preserve meaning and emotional intent, not perfectly symmetrical waveform slices. If a pause carries a reaction or lets a joke land, keep it. If a line needs tightening for pace, remove silence while leaving the lead-in consonant. The aim is to maintain intelligibility and the performer’s rhythm, not to create technically perfect but emotionally flat audio.
Preflight for speed
Do these quick prep steps before your first cut: name and colour-code tracks, add marker lanes for problem spots, and set a comfortable reference monitoring level. Solo the problematic track initially, then reintroduce beds and music for context. These small habits reduce mistakes and stop you hunting for clips when you need to be decisive.
A lean step-by-step trimming workflow for Premiere Pro and Resolve
This is a repeatable pass you can run in ten to twenty minutes for a scene. Prep first: organise tracks into dialogue, beds, Foley, SFX and music. Create marker lanes for pickups or troublesome syllables. Set a reference level so your ears do not fatigue and you retain perspective across clips.
For the first pass, perform a keyboard-driven, context-aware trim. Work with the playhead, add edits where necessary, ripple-trim pauses and remove obvious noise. The point here is speed and coherence, not perfection. In Premiere use Add Edit at the playhead and the trim tools to move edit points quickly. In Resolve use the Cut or Edit page split and trim tools to do the same. Mark any tricky spots for a later pass.
Refinement is where you shape joins. Apply short fades and crossfades to disguise edits, use clip gain to balance relative levels, and align ambient beds so the background reads continuous. For surgical fixes, run a cleaning pass to remove breaths, mouth clicks and other micro-noise. Use spectral tools or precise automation for anything that needs sample-level attention, then re-check in picture for timing.
Fast keyboard-driven trim pass
Order these operations for speed: mark the playback points or in/out, cut at the playhead, ripple or roll the trims to tighten pauses, then hit play and listen. If something still feels off, flag it with a marker and move on. The goal of the first pass is to get the scene musically tight. Perfection comes in the refinement pass.
Cleaning breaths and room tone quickly
Reduce breaths using tiny fades and small clip-gain dips rather than completely deleting them. For obvious clicks, a spectral repair or a single-sample fade fixes the problem without pumping. When you reduce a breath, add a millisecond fade to avoid a sudden level change. If a breath sits on a noisy bed, colour and align a short room-tone loop under the edit so the ear senses continuity.
Quick fixes for real edit scenarios
Different edits have different priorities. For interviews tighten pauses but keep reaction beats and small hesitations that sound honest. For voice-over remove distracting breaths and match the ambience to the picture cut so the VO always feels anchored. Foley and footsteps need to be trimmed and nudged to land on steps and impacts, with fades applied so the hits do not clip the ambience. For whooshes and transition FX, trim to synchronous timing points and shape envelopes so the sound accelerates or decays with the action.
Editing an interview for pace
Decide where the story needs momentum. Cut to tighten obvious long pauses but keep short hesitations that add credibility. Use tiny crossfades and add a matched room-tone under the join so the result reads as one continuous take. If a breath sounds intrusive, reduce it in place rather than removing it entirely, and re-listen with the interviewer present to check naturalness.
Timing a whoosh to an action hit
Place the whoosh so its peak or end lines up with the visual hit. Trim the start to avoid a pre-roll muddiness, and shape the tail with a fade to prevent it from masking dialogue. If the whoosh needs to build, use a short ramped fade-up rather than a hard volume boost, so the effect breathes with the image.
Final listening checklist before you export
Before you render, run a short listening checklist. Play the entire scene at a couple of monitoring volumes and on different outputs to uncover level or phase issues. Watch the edits against the picture playback to check sync and pacing one last time. Scan for DC offsets, clipping, or audible clicks at edit points and ensure any fades are consistent across similar cuts. Confirm ambience beds are continuous and that any stitched room tone does not shift noticeably between shots.
Quick export sanity checks
Do a single short reference export in the target delivery format and listen through headphones and a speaker. This catch-all verifies levels, timing and whether any processing behaves differently in the rendered file. If something jumps out, fix it in the timeline and re-export rather than chasing problems after the final render.
Where Krotos can speed your trimming and sound-building
When you are hunting for that exact whoosh, ambience or impact, time vanishes. Krotos helps reduce time spent sourcing and shaping SFX by providing ready-to-tweak sounds and quick-generation tools that let you audition and adapt elements to the picture. Instead of spending hours in sound libraries, you can produce layers that fit the edit and then import the files into your NLE or DAW for final trimming.
Krotos works as a collaborator not a replacement: reach for it when you need creative beds, atmospheres or whooshes fast. For surgical jobs such as de-clicking dialogue or resolving phase problems, traditional manual edits or spectral tools remain the right approach. Krotos outputs standard audio files that slot cleanly into your existing workflow, so you keep control of final edits.
When discussing generative tools and automation we take an explicit, careful approach. Trust and boundaries matter. Use generated sounds as starting points you listen to critically, and keep human oversight on editorial decisions. That way you gain speed without sacrificing craft or ethical clarity.
If you want to test the time savings, try a Krotos trial or join the community to grab presets, quick-start templates and support from other creators. It is a fast way to explore how ready-made beds and whooshes can reduce the time you spend hunting and let you focus on the fine trims that matter.
Frequently asked questions
What is trimming in audio editing?
Trimming is the process of shortening or adjusting the start and end points of an audio clip to remove unwanted silence, noise or unwanted material, or to align the clip with picture or other audio elements. It includes removing pauses, tightening phrasing and setting edit points so the audio sits naturally in the mix.
Trimming also covers fine adjustments like applying fades, crossfades and clip gain to ensure the joins are inaudible and that the clip transitions smoothly into surrounding audio.
How to edit and trim audio files?
Open the file in your NLE or DAW, set a comfortable monitoring level, and work with the playhead to find the edit points. Use cuts or split commands to isolate sections, then ripple-trim or roll the edge to tighten timing. Apply short fades or crossfades to disguise joins and use clip gain to balance levels. For problem noises, use spectral repair or manual fades. Always re-check edits in context with picture and other tracks.
Work non-destructively by keeping original takes and using markers to flag tricky areas so you can iterate without losing material. Learn a handful of shortcuts to speed the process.
What do you mean by sound editing?
Sound editing is the broader craft of assembling and shaping audio elements for a production. It covers dialogue editing, cleaning, Foley and footsteps, sound effects, ambience beds and syncing to picture. The aim is to make the audio believable, intelligible and emotionally supportive of the visual story.
It includes both creative choices, like designing whooshes and textures, and technical tasks, like removing noise, correcting timing and preparing files for mixing and final delivery.
Can I trim audio on my phone?
Yes, basic trimming can be done on a phone using many mobile audio or video apps which provide cut, split and fade functions. These are useful for quick edits or social content. For complex projects, multi-track sessions or precise spectral repair, a desktop NLE or DAW gives the control and fidelity professionals need. Mobile tools are great for fast fixes, but keep desktop editing for final polish.
