

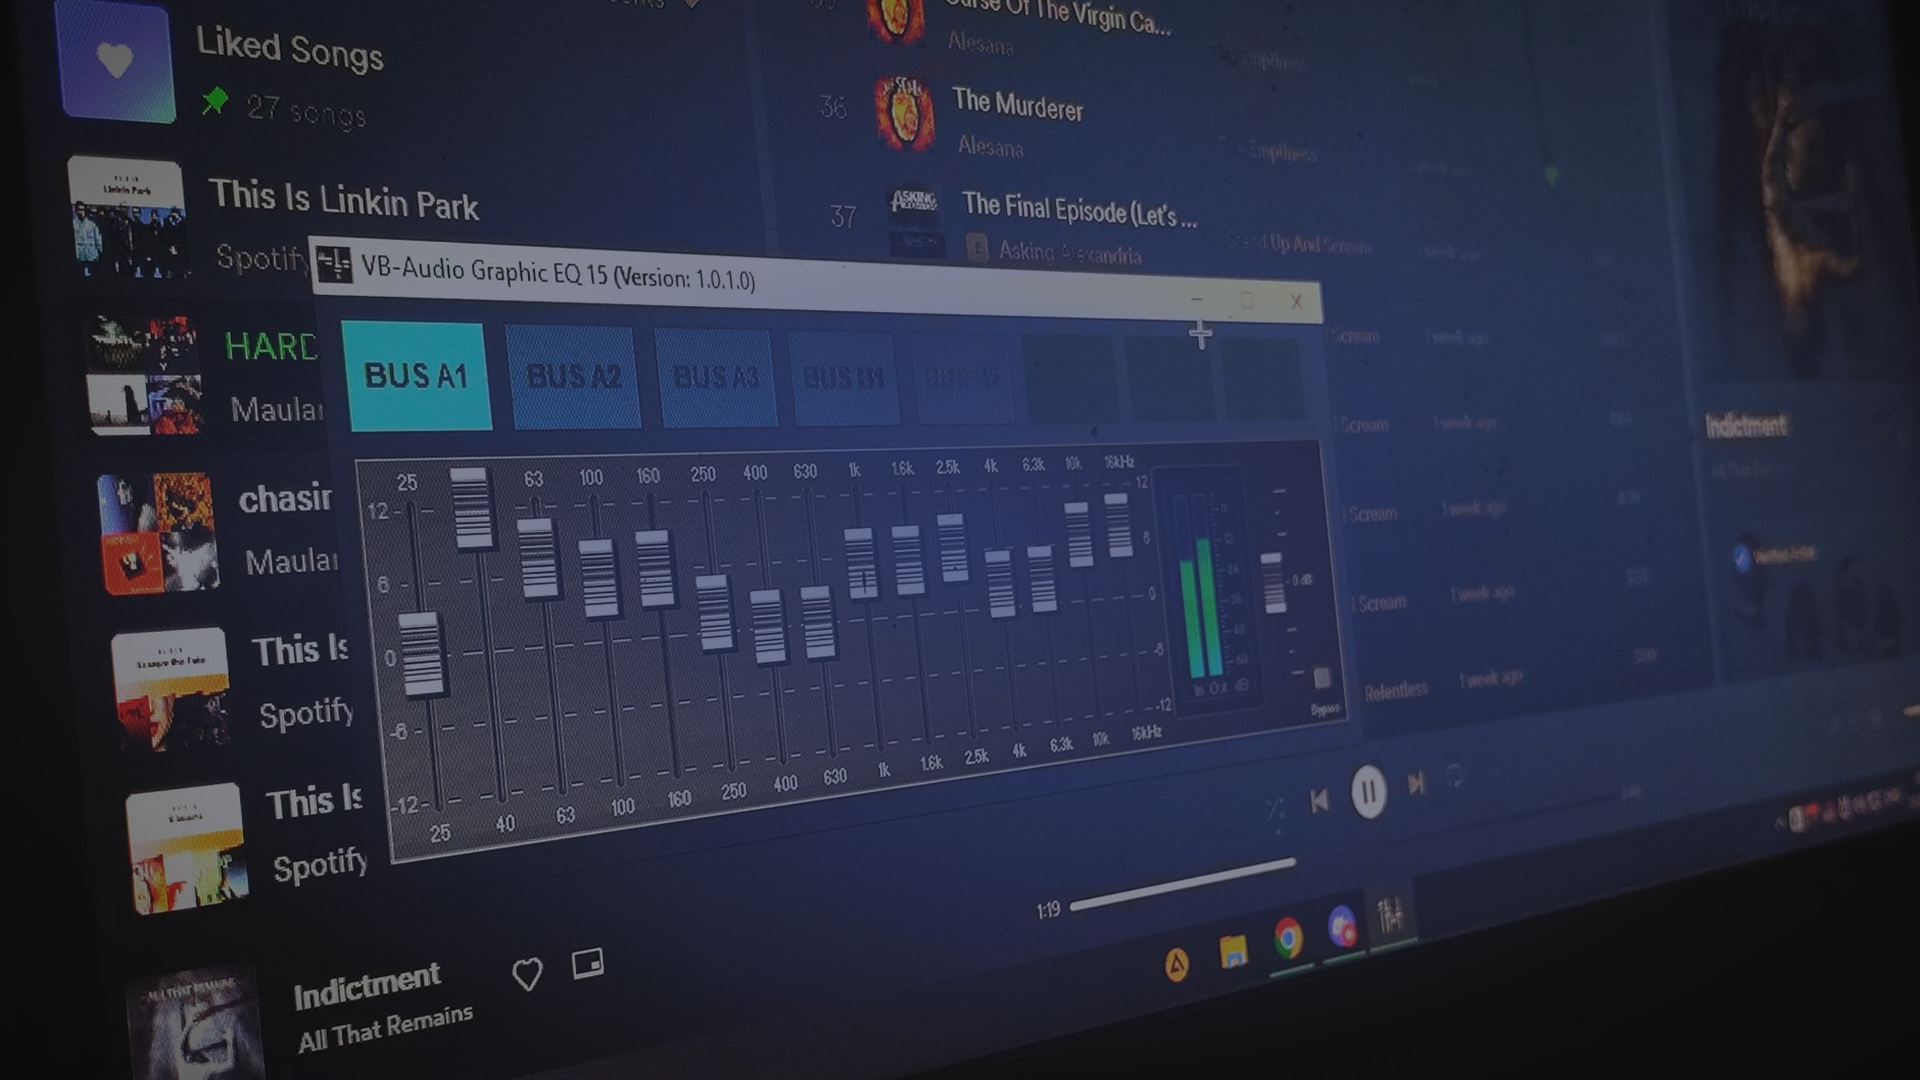
Audio balancing is the simple, essential act of setting the relative levels of dialogue, effects and music so every element is clear and cohesive. For editors and filmmakers working on tight deadlines, a reliable balancing pass gets you 80 percent of the way to a professional-sounding mix fast. This guide gives a practical, step-by-step approach you can follow in Adobe Premiere Pro or DaVinci Resolve, plus quick checks and workflow tips to stop level hunting and keep clients happy.
What audio balancing means in everyday editing
Audio balancing is the practical job of adjusting levels so the important sound is audible and the supporting elements sit in the background without fighting each other. It is not the creative finish, it is the foundation. Think of balancing as arranging performers on a stage so you can see everyone, while mixing is the lighting and colour grading that adds depth and mood.
Balancing is the first mixing step because if levels are wrong, EQ and compression will only be fighting the problem. A fast, confident balance lets you or a re-recording mixer do creative processing without wasting time on rescue work. In an edit session you will meet some recurring terms, so here are quick plain-English definitions.
Balancing versus mixing, what's the difference?
Balancing is about relative levels and clarity, getting each element to its rightful loudness so dialogue is intelligible and sounds sit correctly. Mixing builds on that by adding EQ, dynamics, spatial effects and creative processing to sculpt tone and emotion.
Everyday terms you’ll meet
• Fader or gain, the control for a track or clip loudness, used to set relative levels.
• Bus or group, a combined channel that lets you control or process multiple tracks together. Useful for music or ambience.
• Automation, the drawing or recording of level changes over time, essential for dynamic rides like ducking music under speech.
• LUFS, a loudness measurement that tells you how listeners perceive level. Editors work to platform targets so playback is consistent across devices.
Why solid balancing speeds up your edit and keeps clients happy
A clear balance makes editorial decisions easier. When dialogue sits forward and consistent, picture, sound sync issues and cuts are judged reliably, and you spend less time guessing whether a line was inaudible due to mix or performance. Good balance also cuts client revisions because notes become specific, for example asking for an effect to be louder rather than vague comments about overall volume.
Time savings come from fewer revisits, cleaner note passes and faster conforming. If you lock a reliable balance early, mastering or final mix becomes a tidy polish instead of a major rescue. Delivering consistent loudness avoids platform reworks and reduces the chance of unexpected penalties or re-exports for streaming or broadcast.
Editor pain points balancing solves
• Chasing inconsistent levels across cuts, solved by consistent gain staging and group buses.
• Dialogue getting drowned by music or ambiences, fixed by prioritising dialogue and using quick ducking.
• Endless EQ passes to "fix levels", avoided by getting relative volumes right first.
Why audiences notice, and why clients complain
Audiences notice when speech is unclear and music or ambience steals attention. Clients complain when their message is lost or a scene feels amateurish. A well balanced soundtrack means the story reads clearly, and notes focus on creative intent rather than technical fixups.
Core steps and tools in a reliable balancing workflow
A reliable balancing workflow is repeatable and fast. Try this sequence: organisation, gain staging, rough fader pass, reference listening, corrective EQ and dynamics, automation rides, then a final loudness check. Organisation means labelling, colouring tracks and grouping similar elements to speed bulk changes.
Use meters and reference tracks. Peak meters tell you about clipping risk, loudness meters like LUFS help with platform targets, and an A/B comparison with a reference mix keeps your ears anchored. Grouping tracks into buses lets you adjust ambience, effects or music in one move when the scene's mood changes.
Quick signal-flow checklist
Follow this order for predictable results, trim or clip gain first so the signal is healthy, then set faders for rough balance. Apply EQ or filters to remove obvious masking, followed by dynamics to control peaks and add consistent perceived loudness. Use bus processing for global control and finish with automation to ride levels through the scene.
Meters, reference levels and listening practice
Combine peak and loudness metering with real listening checks at different volumes. Listen near the edit point, then at lower and higher levels to ensure clarity across playback conditions. Regularly A/B against a reference clip from a similar project or platform so your balance remains in context.
Step-by-step: balance a short scene in Premiere Pro or DaVinci Resolve
This is a 10 to 30 minute pass you can use to get to a reliable, present mix. Work in passes, prioritising the elements that carry story.
1. Organisation, colour-code tracks, name dialogue, effects and music. Add markers where changes or problem lines occur.
2. Gain staging, use clip gain or trim to get healthy headroom and avoid fader gymnastics later.
3. Rough fader pass, bring dialogue to a comfortable listening level first.
4. Add ambience and effects, set them lower so they support rather than mask.
5. Music, set it last, ducking under dialogue where necessary using sidechain compression or automation.
6. Corrective EQ and simple dynamics on problem tracks only, avoid heavy processing at this stage.
7. Automation rides to smooth phrases and transitions.
8. Quick loudness check and export a review mix for client feedback.
Prioritise fixes when short on time, always treating dialogue first, then critical effects, and music last.
Premiere Pro quick workflow
Use clip gain to tame peaks before touching track faders. Create submixes for dialogue, effects and music by routing tracks to Audio Track Mixer submix buses, which lets you handle group EQ or level changes in one place. Use track colouring and markers to flag problem lines. For fast ducking, use the Dynamics effect with sidechain or automate the music submix manually for predictable results. Export a lightweight MP3 review file from the timeline to get quick client notes.
DaVinci Resolve quick workflow
Jump to Fairlight for a full balancing environment. Use track and clip gain to set headroom, then route tracks to buses for dialogue, SFX and music. Use the mixer with automation lanes to draw rides or record manual adjustments while playing back. Quick filters and parametric EQ on buses can remove frequency clashes, and Fairlight’s loudness meters let you check LUFS before bouncing stems or a review file.
Essential checks and common mistakes to catch before export
Run a short checklist before you send a review. Look for clipping and maintain sensible headroom, confirm LUFS meets your delivery target, verify mono compatibility where needed, and check phase and polarity on multi-mic dialogue. Test levels across scenes so viewers do not have to adjust volume between cuts.
Common time-wasting mistakes include over-EQing every track, over-compressing to "fix" level issues, mixing at a single volume and skipping reference checks. Small, well-judged changes beat heavy-handed processing that creates new problems.
Quick pre-export checklist
• No clipping, peaks under 0 dBFS and sensible headroom.
• LUFS roughly aligned to intended platform targets, or consistent across episodes.
• Dialogue intelligibility checked at low and high listening levels.
• Mono check for critical elements and phase inspection on stereo sources.
• Consistent transport between scenes, no sudden volume jumps.
Mistakes that cost you time
Relying on EQ to raise presence instead of correcting level, compressing tracks to hide poor balance, and failing to automate dynamic rides. Each forces more revisions and adds client confusion. Keep changes small and purposeful.
A short note on the 1 dB rule, incremental level changes matter. When adjusting final balances, small moves of around 1 dB are often enough to fix masking or clarity problems without upsetting the overall mix.
Where Krotos fits into a fast balancing workflow
Krotos is designed to speed the creative parts of sound design that usually distract from audio balancing, such as hunting through libraries for a fitting whoosh or building a believable ambience. Generate or tweak SFX and ambience quickly, then export stems or sound files that slot straight into your NLE or DAW for immediate balancing and layering.
Krotos outputs are straightforward files, so you can import them into Premiere Pro submixes or Resolve buses, label them for quick searches and iterate without rebuilding from scratch. This is particularly useful when you need multiple variations fast for client review or when building ambiences that match picture edits.
When we talk about AI or automated tools, we take a calm, measured approach. Krotos positions itself as a creative assistant, a tool that accelerates repetitive tasks and expands options, while leaving decisions and ethical control firmly with the user. You remain in charge of what gets used, how it is credited and how it fits the project.
Practical use cases in an edit
Common time savers include generating whooshes and transitions to support cuts, creating multiple footwear variants for quick ADR matching, or building room ambiences to mask scene edits. These elements can be dropped onto buses and balanced rapidly against dialogue and music.
Workflow tips for quick integration
Export SFX with clear naming and useful metadata, import them into a dedicated SFX bin, and route variants to a single bus for collective adjustments. Keep iterations small and labelled, so client reviews stay focused and you can revert or swap options without losing the balance work you have already done.
If you want to try how this speeds your edit, join the Krotos community for tips and examples, or download a trial to test how generated SFX and ambiences integrate with your Premiere Pro or DaVinci Resolve workflow.
Frequently asked questions
What is the difference between balancing and mixing?
Balancing is the technical act of setting relative levels so each element is heard as intended, ensuring dialogue, effects and music are clear and cohesive. Mixing includes balancing but goes further, adding creative processing such as EQ, compression, reverb and stereo placement to shape tone and emotion.
In practice, editors should aim to deliver a solid balance so a mixer can apply creative polish efficiently. If levels are right, mixing becomes more about artistic choices than problem solving.
What is the 1 dB rule?
The 1 dB rule is a practical guideline suggesting that small level adjustments, on the order of one decibel, are often enough to resolve masking or clarity issues without upsetting the overall balance. Because our ears are sensitive to relative changes, modest tweaks frequently produce better results than large moves.
Use this rule during final rides and client revisions to keep changes transparent and predictable, and pair small adjustments with A/B checks to confirm improvement.
Which is harder, mixing or mastering?
Mixing and mastering require different skills. Mixing is broader and often more complex because it involves balancing many elements, creative processing and solving interaction problems between tracks. Mastering is narrower in scope but requires a high level of critical listening and subtle control to ensure mixes translate across playback systems.
Which is harder depends on the context and the individual's strengths. Editors typically focus on getting a clean balance for mixes, whereas mastering engineers specialise in final consistency and delivery.
How to properly balance audio?
Proper balancing starts with organisation and gain staging, setting clip and track gain so signals sit within a comfortable range. Prioritise elements that carry content, usually dialogue, then add effects and music. Use buses to group similar tracks, apply corrective EQ and gentle dynamics only where necessary, and automate level rides to maintain intelligibility through fades and performance changes.
Regularly reference trusted mixes and check at multiple listening levels. Finish with a loudness check for your delivery platform and a quick mono and phase inspection to ensure compatibility. Small, repeatable passes get you a professional result faster than heavy processing in one go.
