

Quick AI ambience tools are tempting because they promise usable background sound in seconds, a real gift when deadlines loom and you do not have time to hunt libraries or book a location. That said, a rushed one-shot approach often creates tracks that sit oddly under picture, clash with dialogue, or loop badly. This guide shows common pitfalls to avoid, then gives a compact Premiere Pro and DaVinci Resolve friendly workflow to generate believable ambience with an ai soundscape generator, quickly and reliably.
Why AI ambiences often sound flat, distracting or unusable
AI-generated ambiences can be brilliant time-savers, but a few predictable mistakes make them feel synthetic and hard to mix. The biggest trap is relying on a single generated track. A single layer tends to be sonically thin, lacking depth and perspective. Editors then push EQ and level to compensate, which introduces masking and harshness.
Context is frequently ignored, producing a mismatch between room size, dynamics and perspective. If the image shows distant hills but the audio sounds like a small studio, the viewer notices. Looping and phase issues crop up when clips are poorly edited or exported in the wrong format. Finally, workflow time sinks happen when people try to perfect one giant prompt rather than iterate fast with stems.
Common sonic problems
Typical audible issues include static or repetitive textures, unnatural dynamics where everything sits at the same loudness, and frequency buildups in the midrange or high end that become grating. Poor stereo imaging, such as a collapsed centre or exaggerated side content, can ruin spatial cues. These happen because a single generated file often blends foreground and background into one flat field, and because prompts may not constrain perspective or dynamics.
Workflow mistakes that waste time
Common time-wasting habits include generating full mixes instead of stems, which limits your ability to adapt the audio to picture. Skipping a quick reference check against a real recording means you miss obvious perspective problems. Finally, failing to name and export usable files or skips on metadata makes handover messy for review and integration.
The better approach: design for mixability and speed
Design with mixability first, then polish. Work in stems so you can quickly duck ambience under dialogue or boost a foreground texture without re-rendering everything. Match perspective and dynamic range to the picture by using short test renders and references, not long one-shot generations. Use restrained prompting and iterative passes rather than trying to conjure a perfect scene in a single prompt.
Keep ethical safeguards in mind. Confirm licences for generated content and avoid presenting generated ambiences as field recordings when provenance matters. When in doubt, label generated files in your deliverables so teams and clients know what they are hearing.
Designing for mixability
Export stems for background ambience, room tone, foreground atmos and discrete effects. Keep tails intact so loops crossfade naturally, and provide dry and wet options if the generator allows it. Conservative levels and conservative processing mean you can slot the sounds into a mix quickly, and they will survive level changes and scene cuts without needing rework.
Prompting with reference and constraints
Short, targeted prompts plus a sonic reference achieve consistent results faster. Rather than verbose descriptions, give the generator a clear role, for example background rural ambience, distant birds, very low wind under 100 Hz. Add a reference clip when possible and constrain duration. This reduces back-and-forth and helps you generate stems that match your visual perspective.
A compact step-by-step workflow: generate, refine, integrate
You want to move from empty timeline to mix-ready ambience in a handful of quick passes. Set up your reference, decide which stems you need, generate multiple short passes, then import and place stems on separate tracks in Premiere Pro or DaVinci Resolve for final tuning.
Prepare your reference and timeline
Pick a 10 to 30 second reference clip that matches the scene in perspective and dynamic feel. Decide whether you need a loopable bed or a timed bed that follows edits. Create a temporary track stack in your NLE called Ambience 1, Ambience 2, Foreground FX so you can audition quickly and turn layers on or off without moving regions around.
Generate and refine in quick passes
Produce short stems, for example 15 second background bed, 8 to 12 second foreground textures, and 3 to 6 second discrete effects or whooshes. Label files clearly with role, tempo or loop info. Export conservative dry and processed versions where possible, so you can choose whether to apply local processing in the NLE or use the generator's FX.
Import, place and finish in Premiere/Resolve
Import stems to separate audio tracks. Use a gentle high pass at 40 to 80 Hz to clear mud and low pass if the ambience competes with highs. Use buses or sends for shared reverb so ambience sits in the same acoustic space as dialogue. Normalise to a conservative headroom, for example peak no higher than minus 6 dB, then balance by ear against your reference render or production dialog.
Apply it now: three short scenarios (doc, sci‑fi, game level)
Different projects need different sensitivities. Here are three quick scenarios and how to approach them so the ambience enhances rather than distracts.
Documentary exterior, keep it honest
For documentary exteriors aim for subtlety. Prompt for distant ambience, low wind, distant traffic and intermittent wildlife. Split stems into background bed, distant events and close practical sounds, and place them at lower levels than dialogue. Use sidechain ducking or manual automation to prevent masking of spoken audio.
Sci‑fi interior, texture without clutter
Sci fi interiors benefit from layered synthetic textures. Combine a low synthetic drone stem with higher modulation textures and a set of concrete mechanical hits for events. Keep the drone low in level and reserve midrange energy for mechanical hits that sync to picture, leaving headroom for effects and dialogue.
Game level, make looping and middleware easy
For game levels export loopable stems with clean tails and matching sample rates. Provide both a loopable bed and discrete FX stems, and annotate fades and intended loop points in filenames or metadata. For middleware provide stems marked dry or wet and include notes for intended layering behaviour in engines like Unity or Unreal.
Final checks before export or delivery
Before you hand anything over do a short checklist to catch common mistakes and keep deliverables clean.
Do quick technical checks for loudness, headroom and phase. Ensure sample rate and bit depth match the session. Verify loop points and fades are seamless, and that stems are organised and clearly named. Legally confirm usage rights, document whether content is generated, and preserve your reference clips for future checks.
Export settings and filenames
Use descriptive filenames such as scene01_amb_bed_15s_48k_24b.wav and include sample rate and bit depth in the name when handing over. Deliver lossless stems for final mixes, for example WAV at 48 kHz 24 bit, and provide compressed versions for review if requested. Include a simple README listing stems, loop points, and any attribution or licence notes.
Where Krotos can speed up and secure your ambience workflow
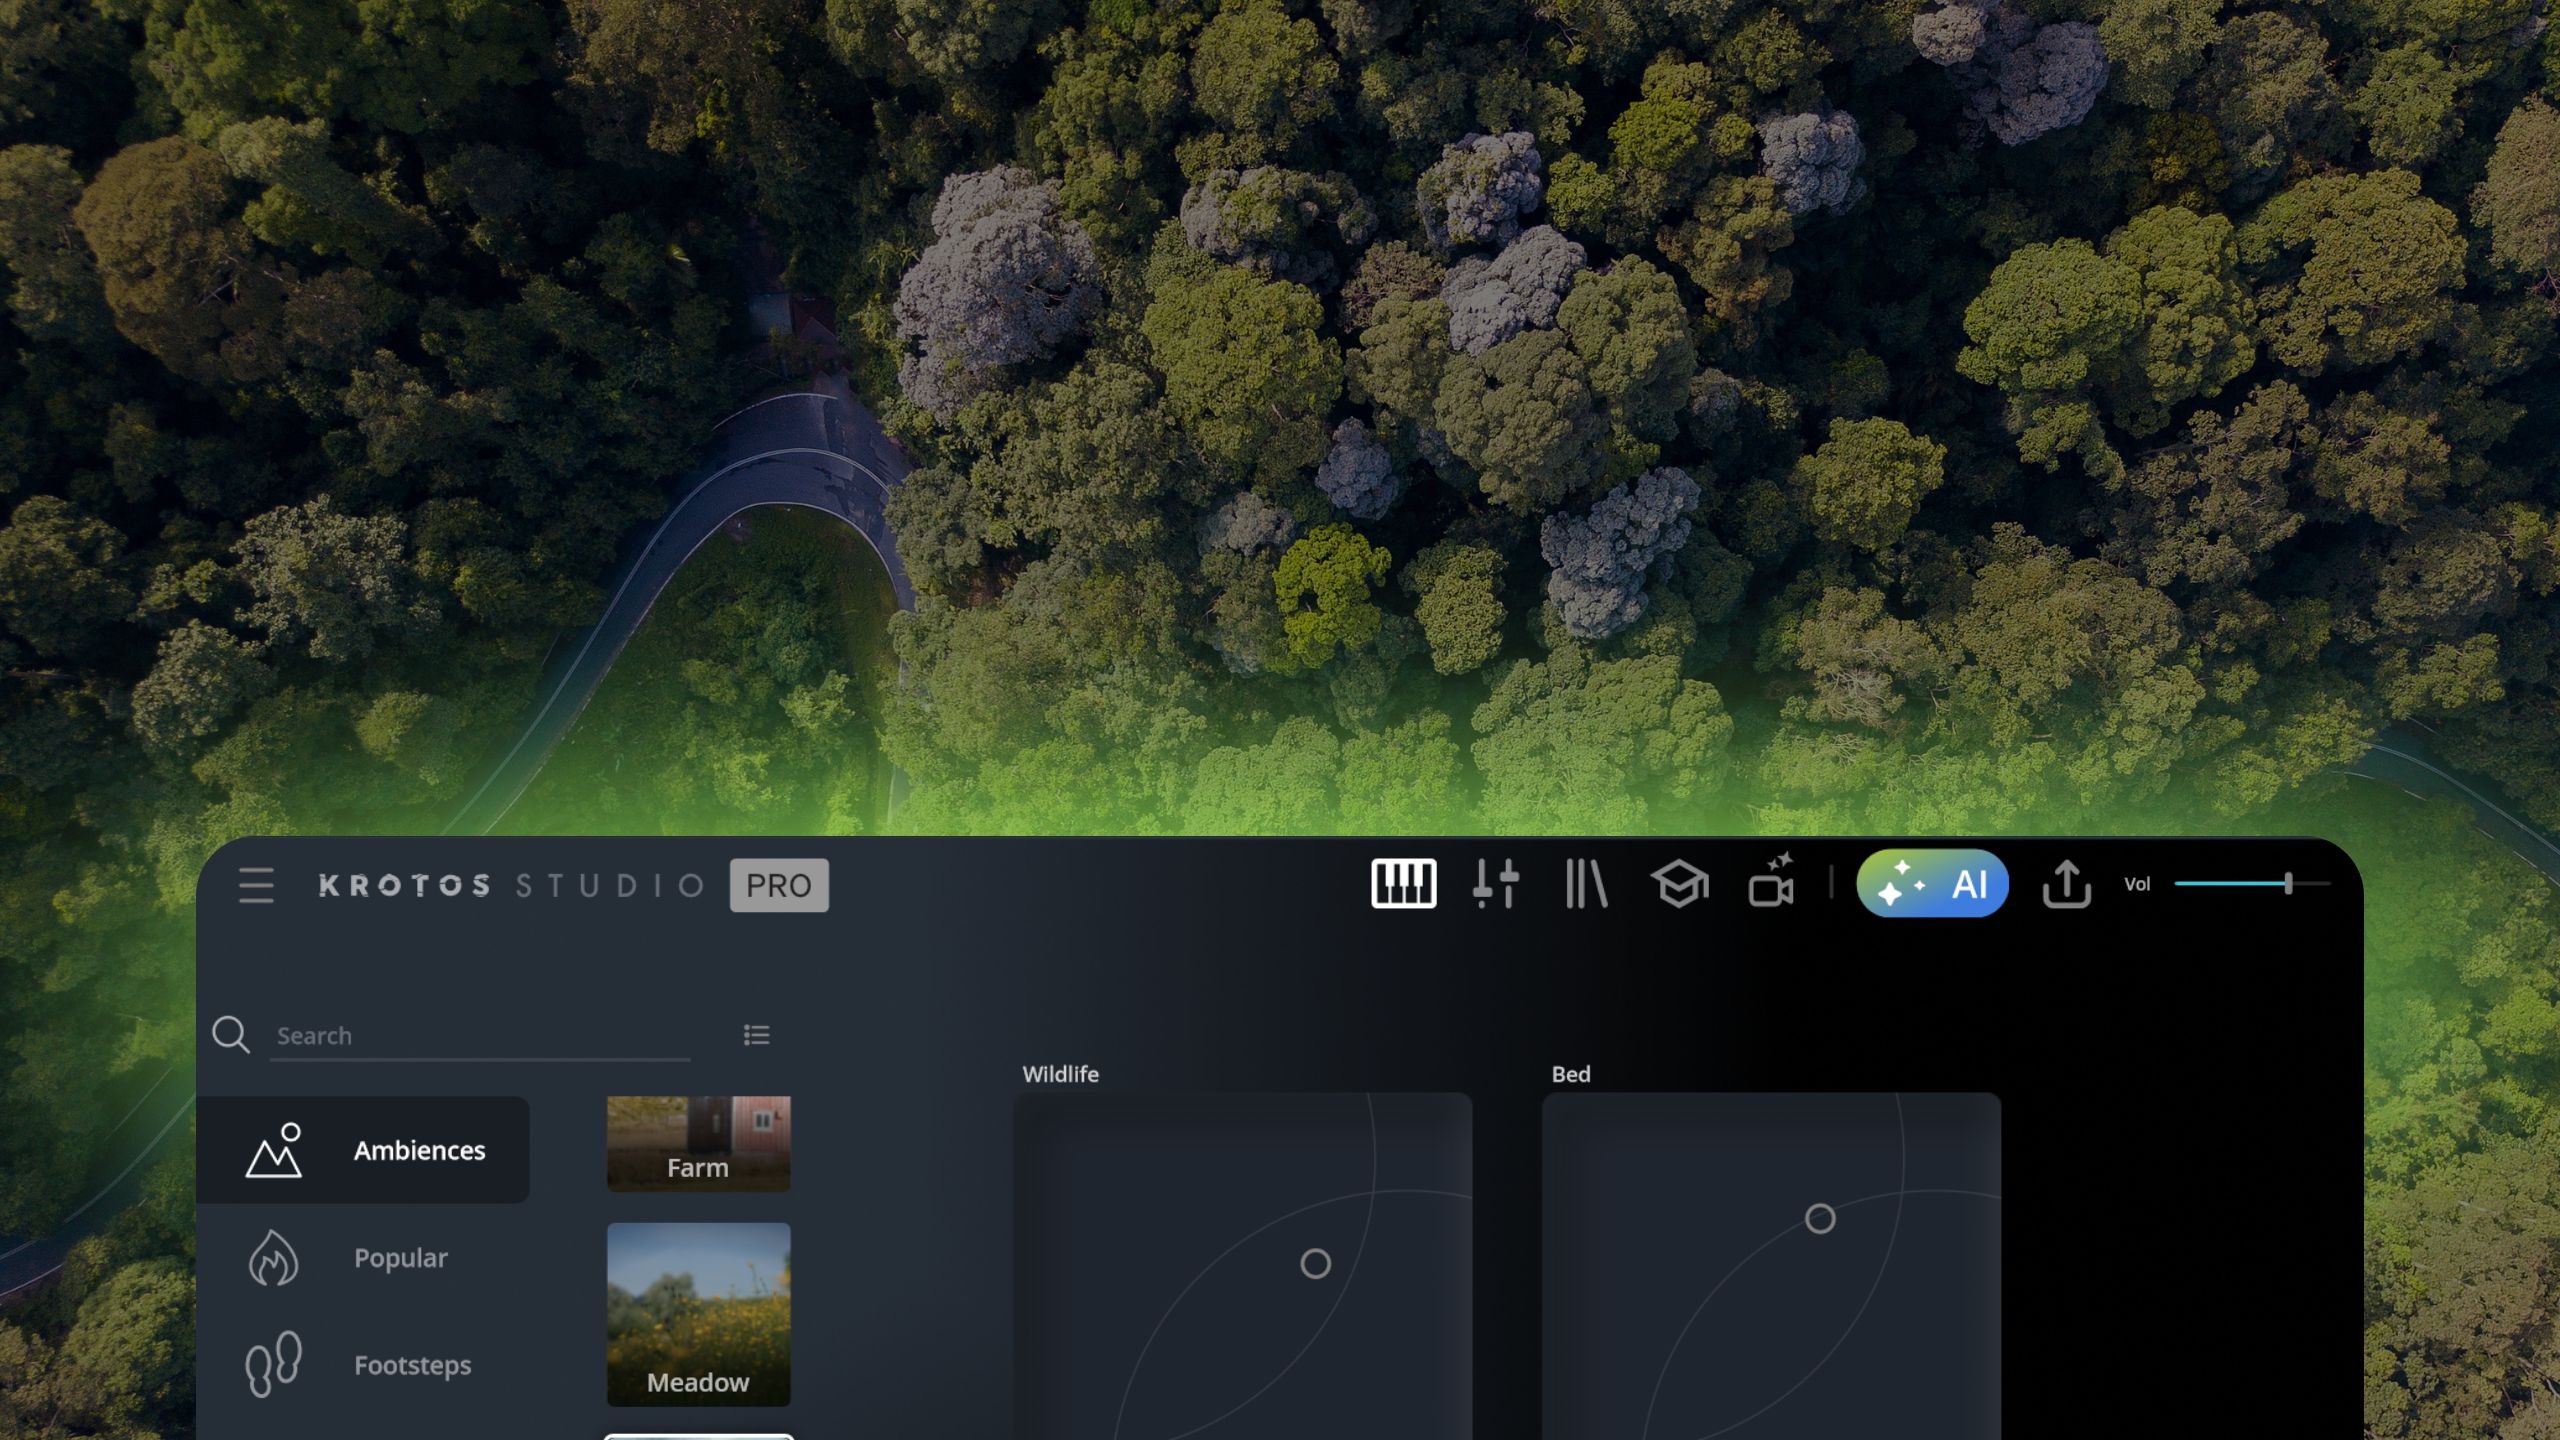
Krotos can serve as a rapid starting point for stems and textures that you refine in your NLE or DAW. Think of it as a collaborator that gets you usable building blocks quickly, so you spend less time hunting libraries and more time shaping specifics.
The practical benefits include faster iteration, clear export organisation and controls that let you export dry and processed versions, loopable beds and discrete stems. These options preserve mixability and make review cycles shorter. On the ethical side, follow your project licensing rules, mark generated files where required, and rely on written project permissions rather than assumptions.
Speed and control for editors
Quick generation plus sensible export options reduces library hunting and shortens review loops. You can generate multiple alternatives, import them into Premiere or Resolve, and decide on the spot which stem combination best supports the edit.
When to use Krotos and when to record
Use generated ambiences for time-sensitive drafts, layered textures and when you need consistent atmospheres across edits. Choose field recording when authenticity, provenance or very specific on-set idiosyncrasies are essential. Combining both approaches often yields the best results.
Ready to try this on your next edit? Join the Krotos community, try a free trial or demo, and share a before and after from your project in our forums. We offer quick onboarding resources and support to get you mixing faster.
Frequently asked questions
What are ai soundscape generator?
An ai soundscape generator is a tool that uses algorithmic models to produce ambient audio textures, atmospheres and environmental sounds from text prompts or references. It is designed to create background beds, textures and discrete effects that can be used in video, games or audio projects.
These tools are useful for rapidly prototyping sonic ideas and creating layers you can refine in a DAW or NLE. They are not a substitute for careful mixing or field recording when project requirements demand precise authenticity or specific provenance.
How can editors use ai soundscape generator in a production workflow?
Editors can use these generators to create starting points and alternate ambiences quickly, label stems for mixability and provide multiple options for clients during review. Generate short stems, import them on dedicated tracks in Premiere or Resolve, and use buses, EQ and automation to integrate with dialogue and effects.
Treat generated files as modular components to be adjusted in context. This keeps iteration fast and reduces the need for last minute library searches or expensive re-recording.
What makes ai soundscape generator sound authentic?
Authenticity comes from perspective, dynamics and detail. Matching the scene by using references, producing stems rather than a single mix, and preserving natural tails and spatial cues will improve believability. Realism also depends on how you process and place stems in the mix, using reverb, EQ and level automation to match on-screen distance.
Careful listening and quick A B checks against field recordings or trusted references are essential to ensure the generated soundscape aligns with the picture.
How can ai soundscape generator be created quickly without losing quality?
Work in short, iterative passes. Produce 10 to 30 second stems that are clearly labelled, generate both dry and processed versions, and audition them against a reference clip. Keep prompts targeted and add a sonic reference rather than long descriptive text. This approach minimises wasted generations and keeps the output mixable.
Integrate early into your timeline and make small adjustments rather than re-generating large mixes, which saves time and preserves quality.
What file formats work best for ai soundscape generator?
For professional delivery, lossless WAV files at 48 kHz 24 bit are a solid default. Provide loopable beds with clean fades and include both dry and processed versions if possible. For quick reviews, compressed MP3s at a reasonable bitrate are acceptable, but always supply lossless stems for the final mix.
Keep sample rate and bit depth consistent with your session to avoid resampling artefacts.
How can Krotos help with ai soundscape generator?
Krotos provides tools to quickly generate usable stems and textures with export options designed for mixability, such as dry and wet variants and clear stem labelling. These features speed up iteration, reduce library hunting and make it easier to hand over organised stems for review or integration.
Krotos also supports sensible export organisation and metadata, which helps keep deliverables clear. For projects requiring strict provenance, combine generated stems with recorded material and document usage and licences as part of your delivery.
